
The Ceiling Project
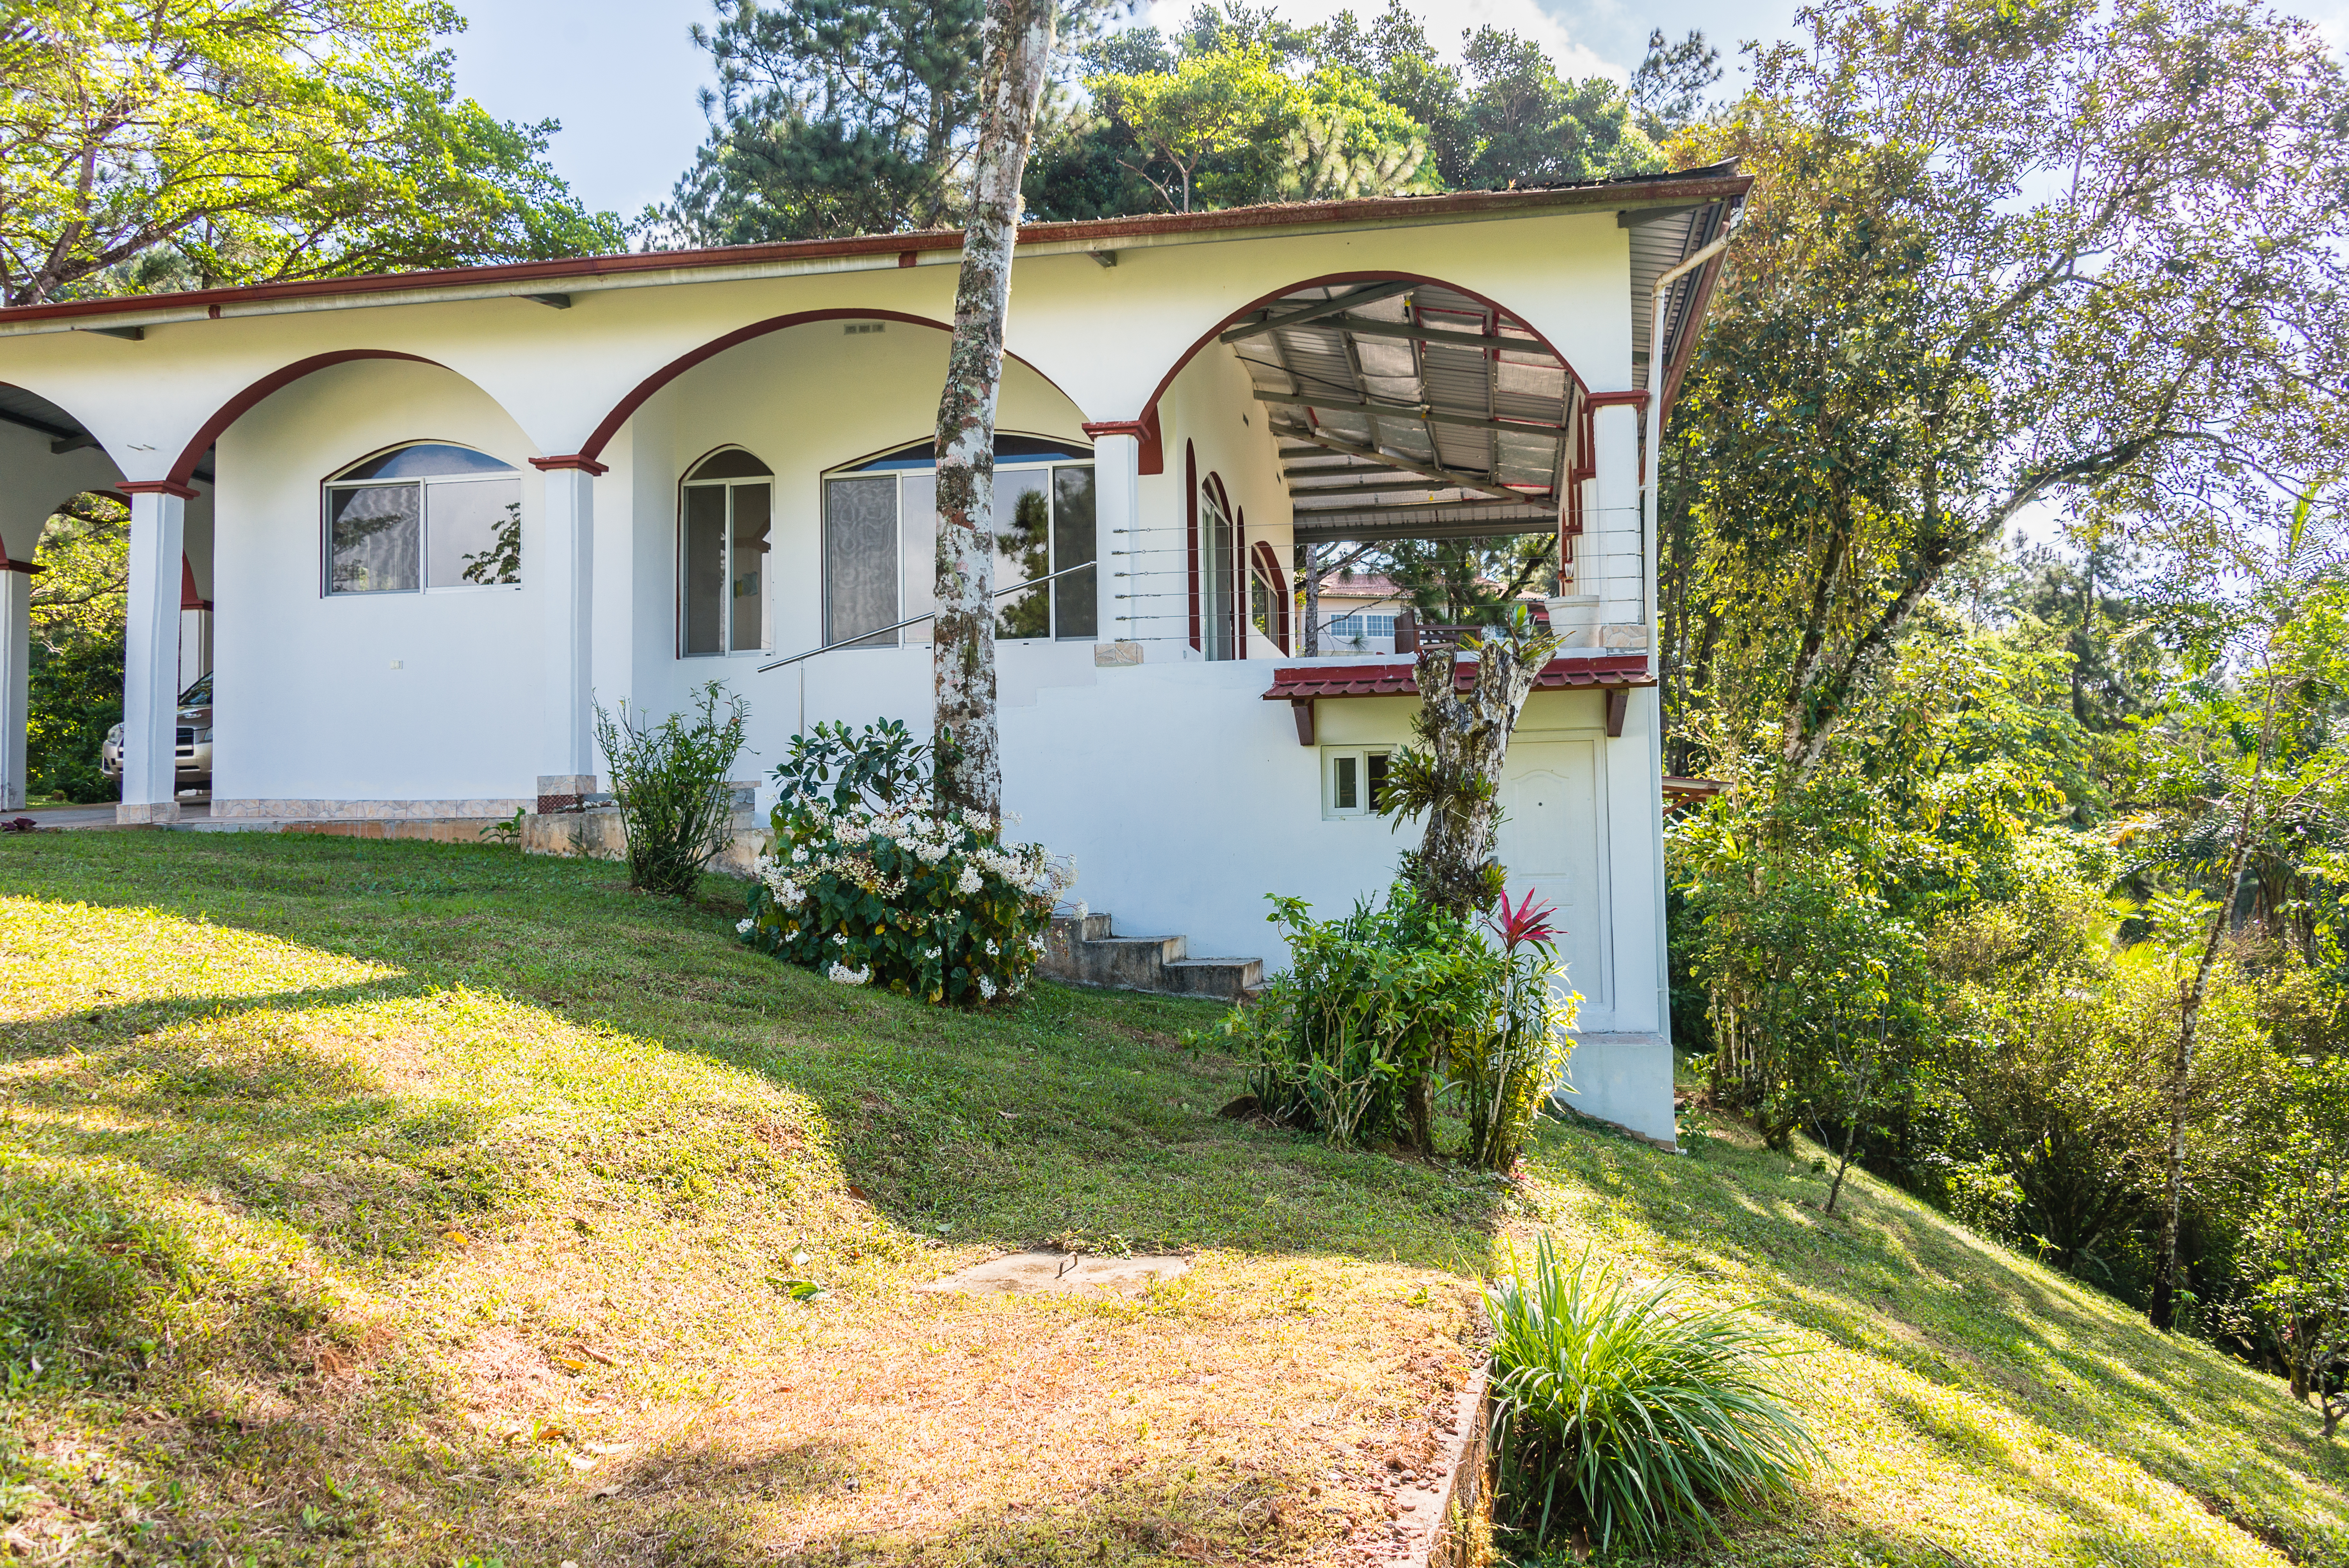
We are back in Panama for another season of cold weather avoidance and tropical living. Our house in Los Altos de Cerro Azul is progressing nicely, in fact, this year’s only project is the last of the major inside projects. We plan to install about 1,200 sq. ft. of interior ceilings!
As I have said before, humidity is our biggest problem here and we are careful to select appropriate building materials that will stand up to humidity in the mid ninety percent range. At home, the standard gypsum board would be the natural choice but here, it would disintegrate in the humidity.
We have found plastic very durable in this environment. We have several dressers and cabinets made from plastic and they look reasonable and do not mould.
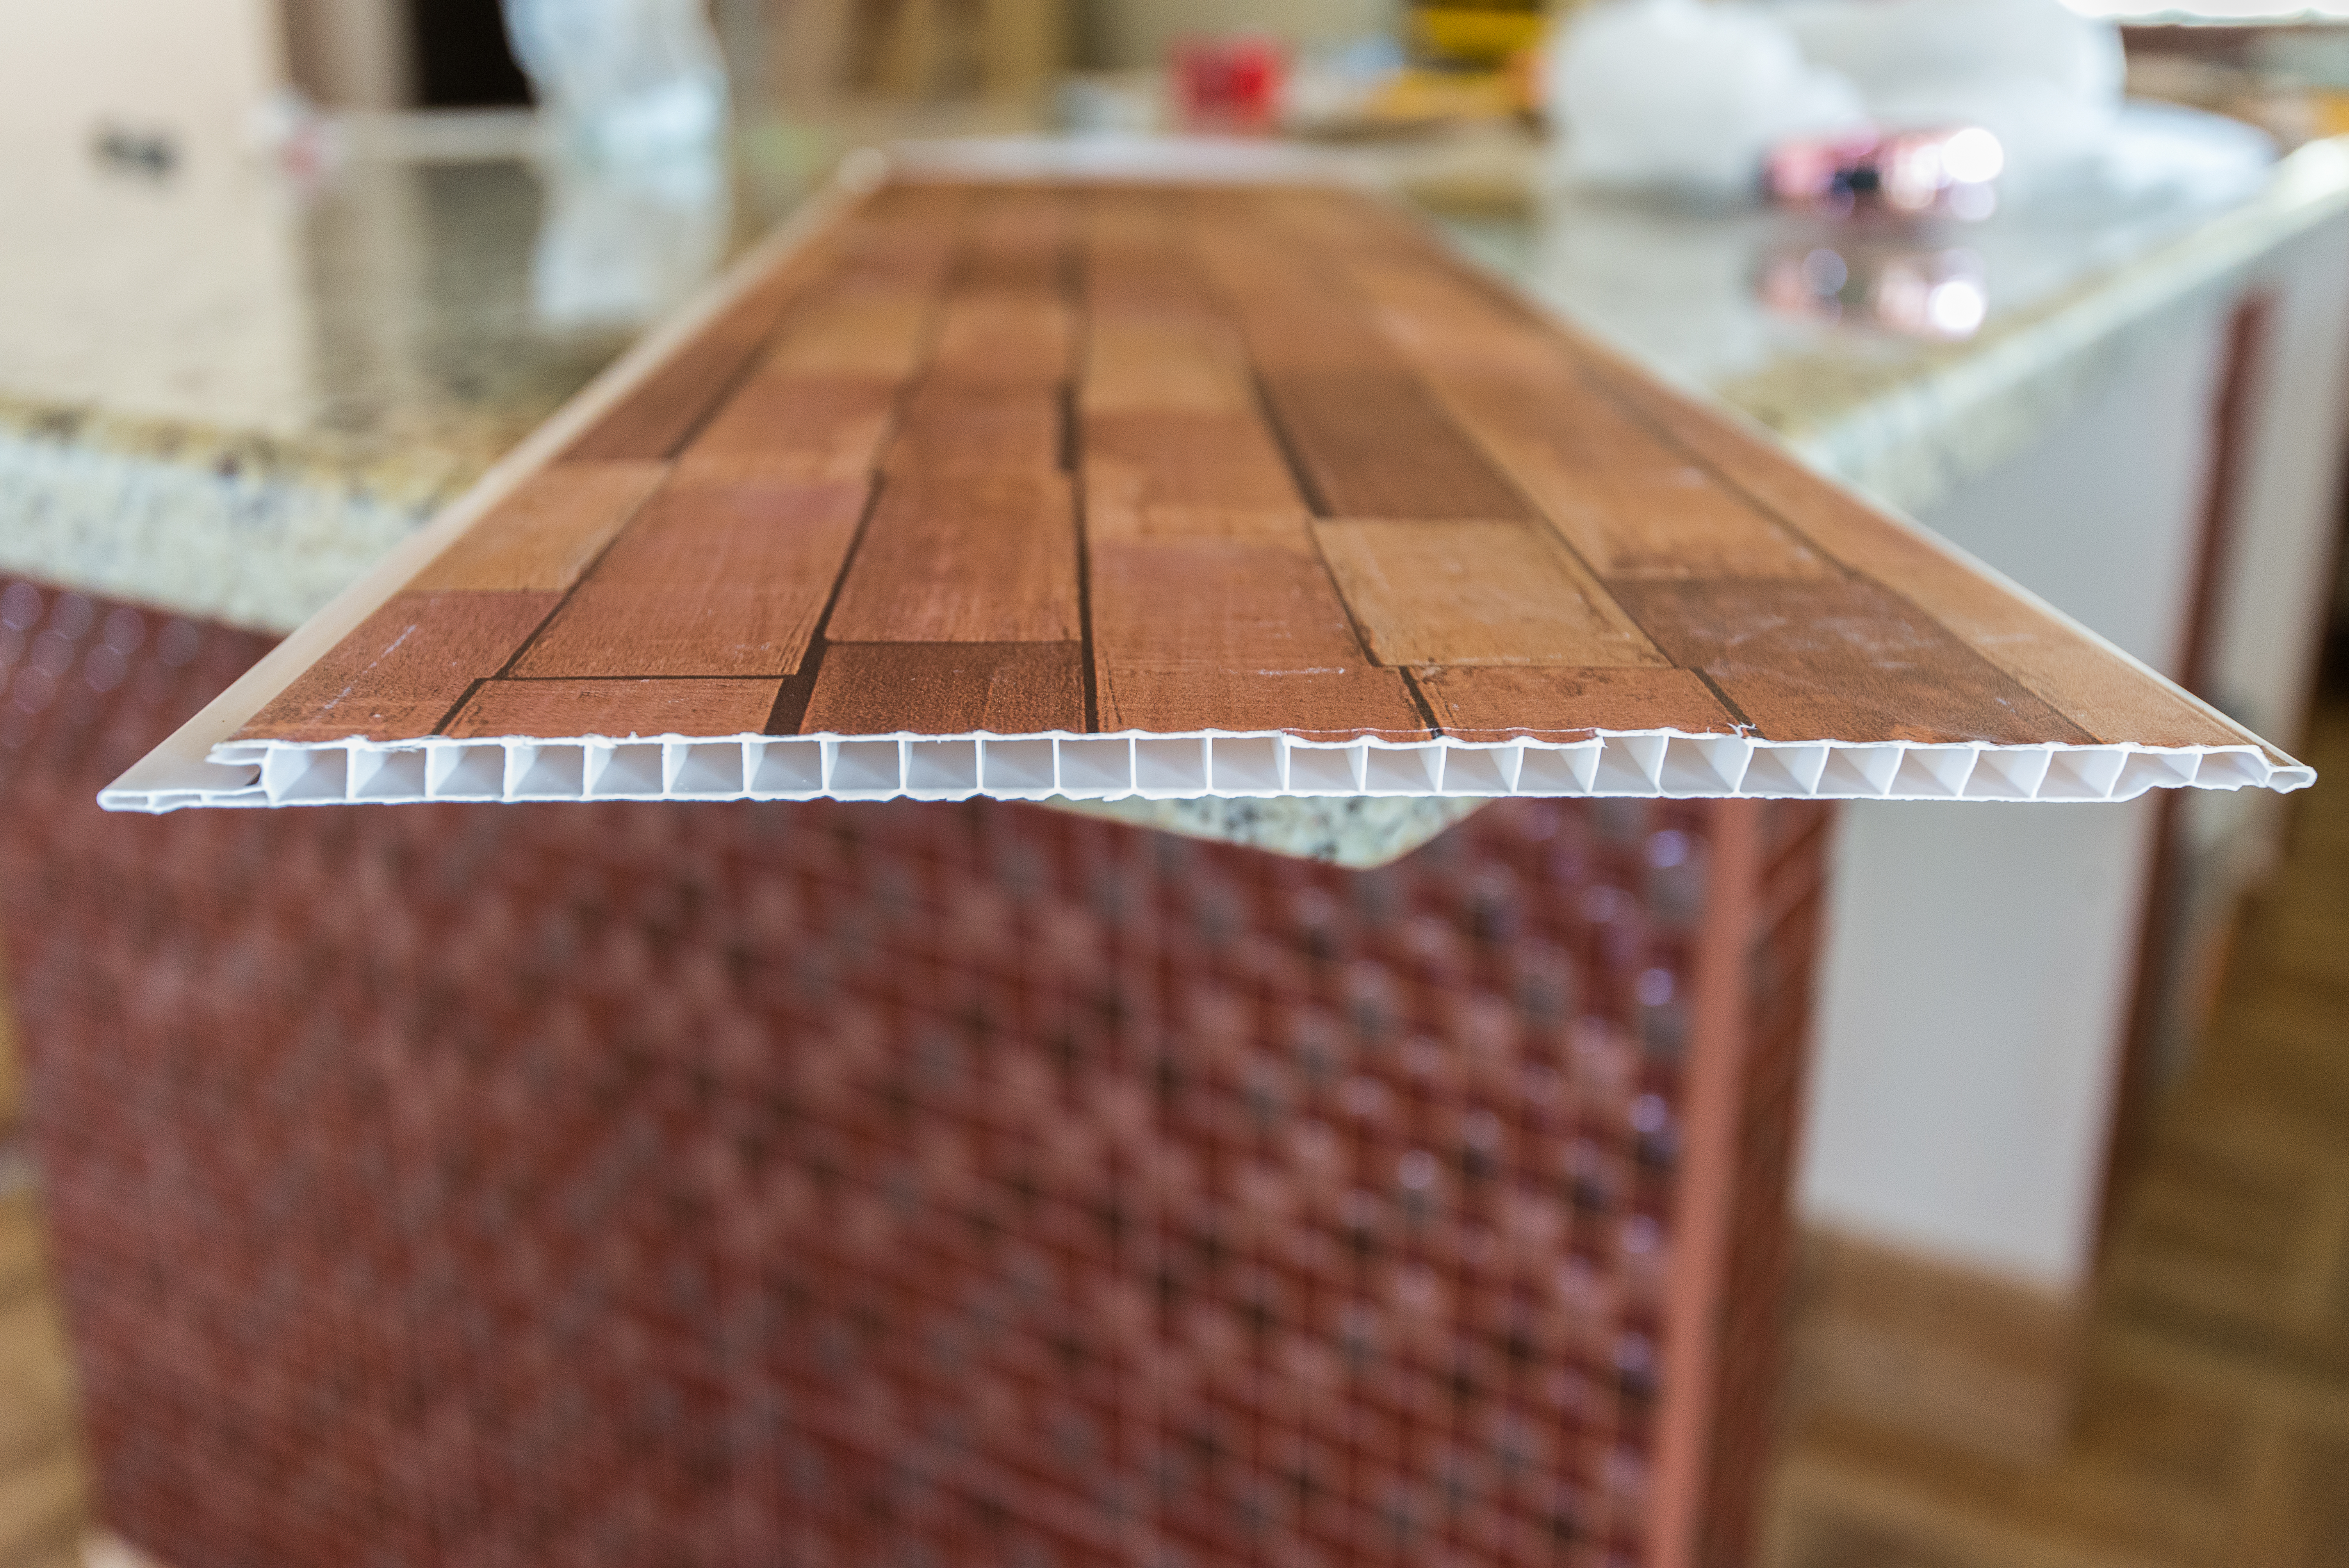
A couple of years ago we found a new ceiling material in the stores here. It is PVC plastic. If you hold it up and look at the end, it resembles the structure of heavy cardboard. It is about ¼ of an inch thick. The dead air space inside it also will offer some added insulation. We decided on this material for our ceilings.
As this product comes in many different finishes, patterns, and colors the next job was to make the rounds of the building stores to find something that we liked. In keeping with our wood theme, here is what we settled on.
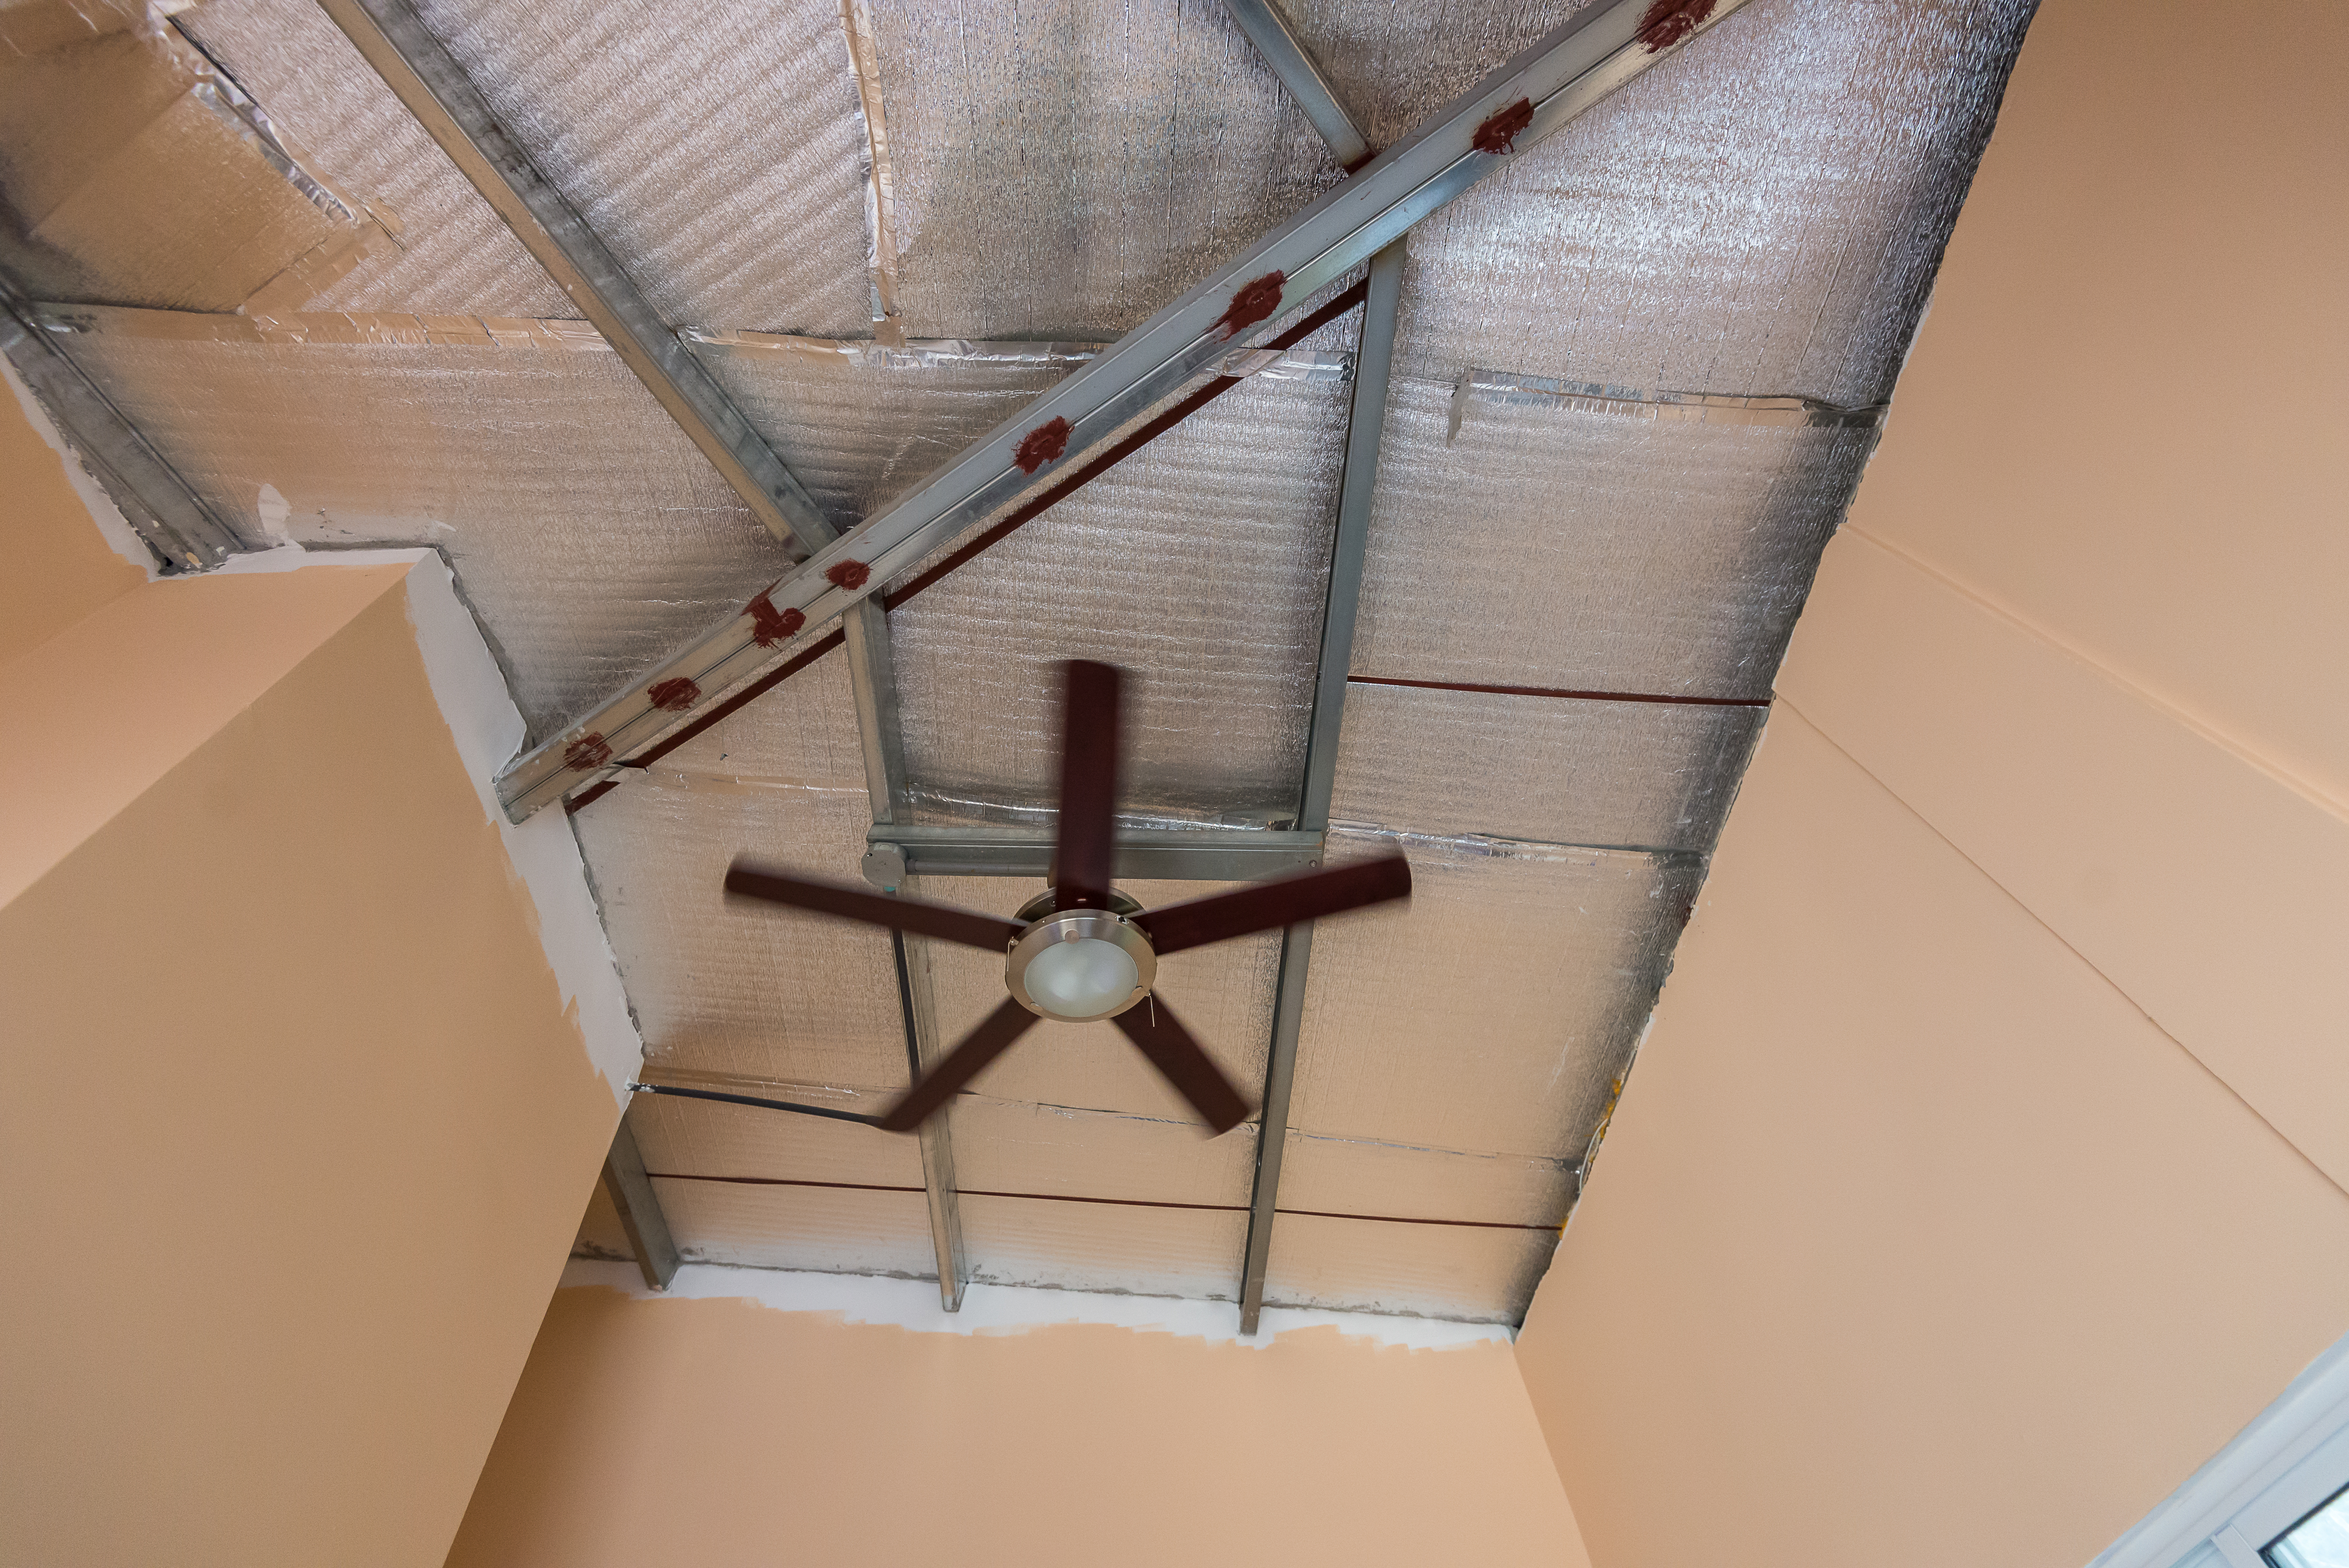
It looks like the next thing we need to do is decide on how we want the ceiling installed. Most places we have seen using this product have followed the inside of the roof line. In our case this presents some difficulties due to the steel structure supporting the roof. It would not be a symmetrical installation. Finally, we decided on a simple flat ceiling. Simple! We also have a high enough roof that we will be able to make an eleven foot ceiling. This allows for lots of air to circulate, which helps keep things cool in the heat.
Some of the installations we have seen are pretty rough. Particularly on mouldings in the corners. We hoped that by opting for the flat simple solution we might decrease our risk of problem corners.
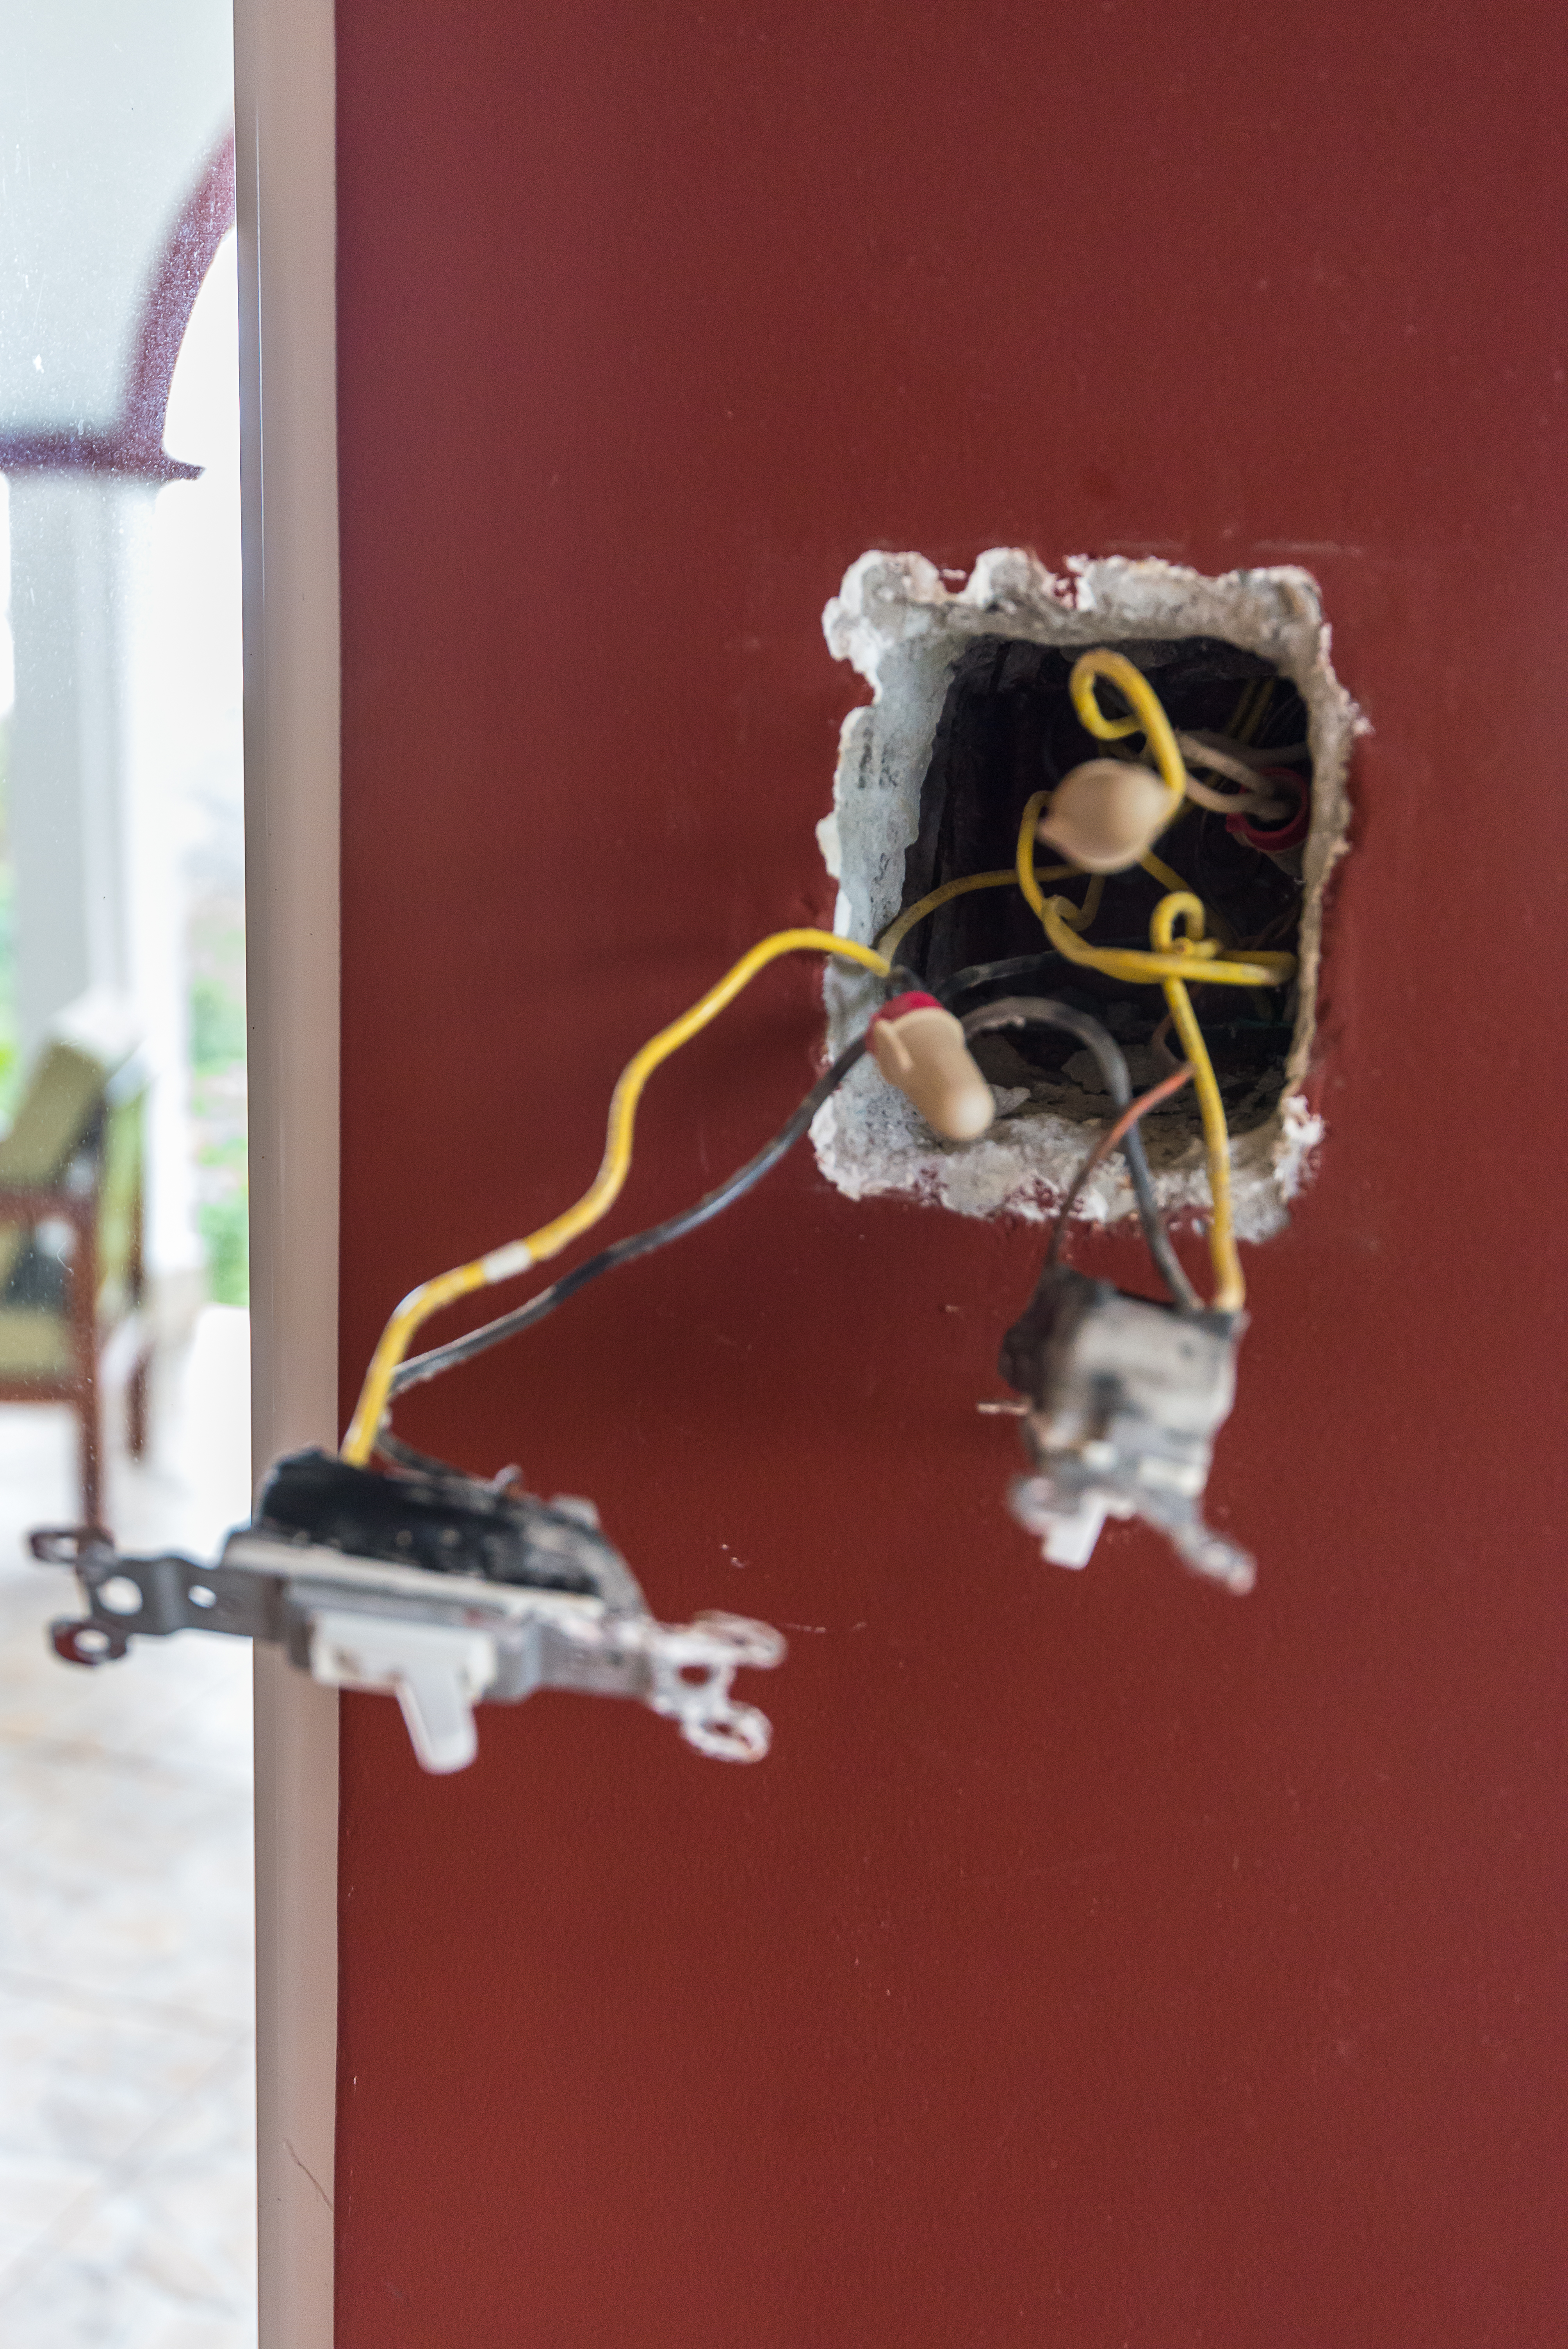
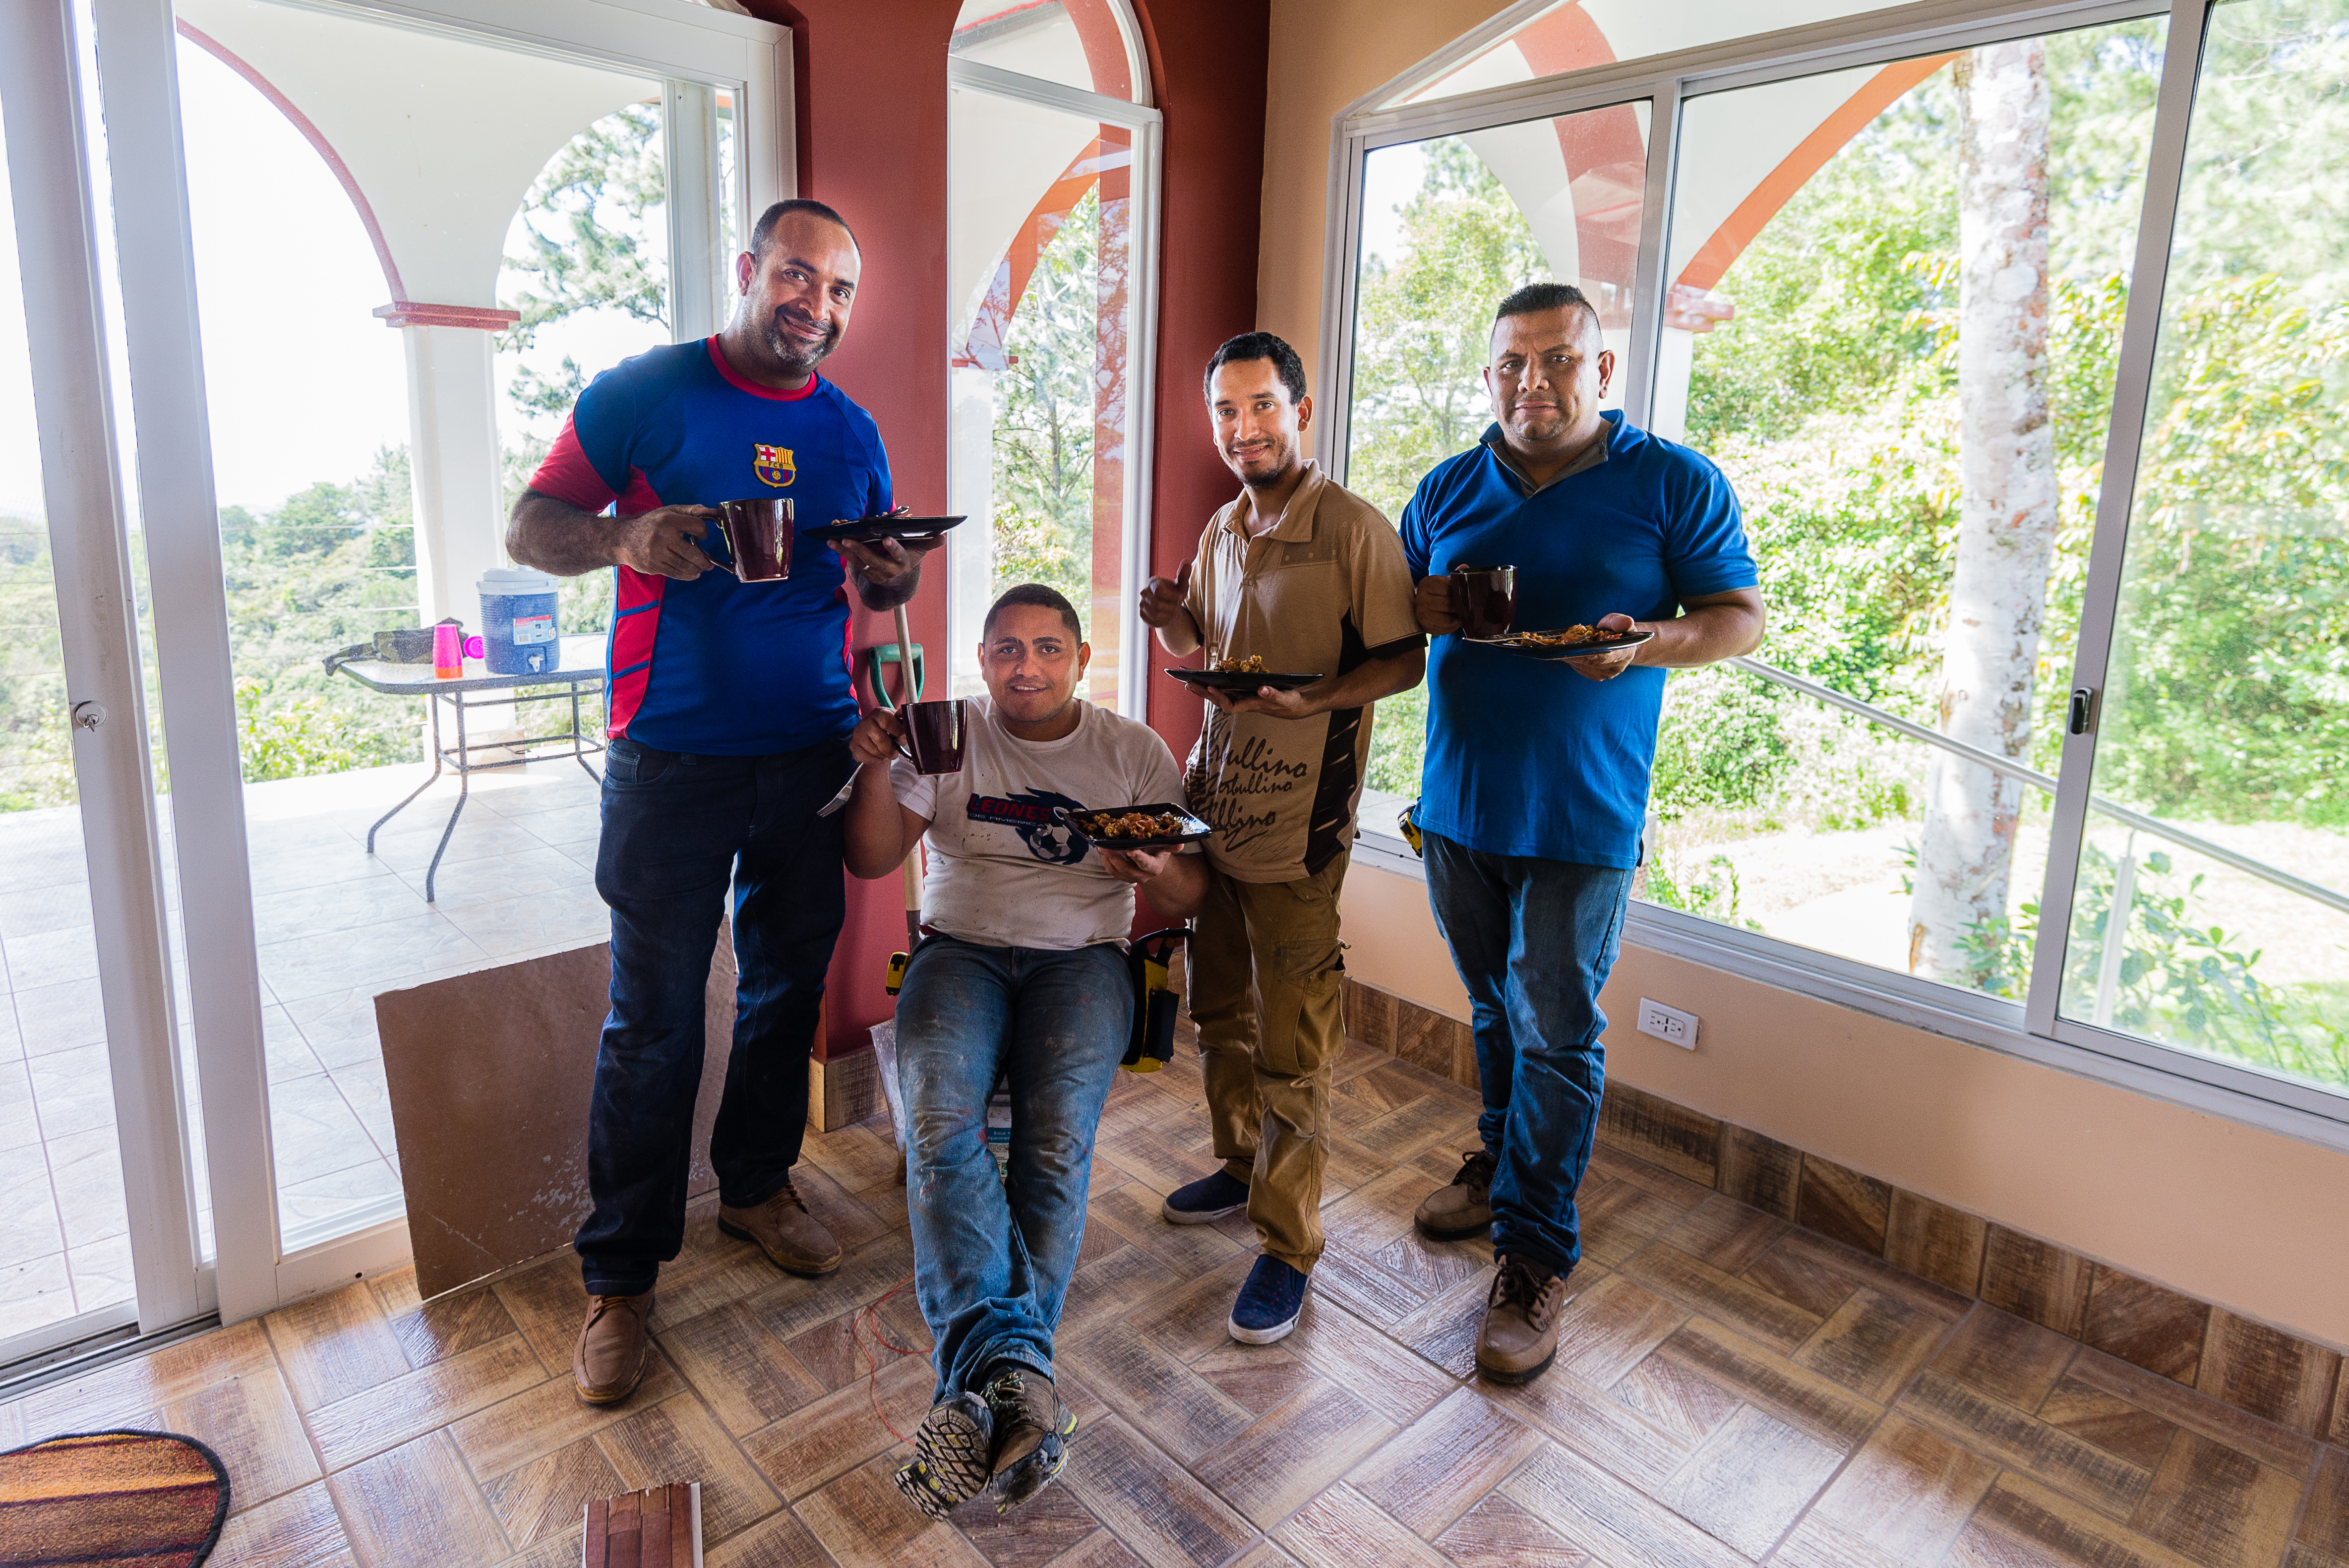
Next, we had to find an installer so we talked to a local contractor we knew and asked him to bid on the job. The surprising result was that he had located a four-man team with lots of experience installing this type of ceiling. This contractor is also an electrician and we needed to adjust some of the lighting. Our existing lighting was simply mounted in a junction box attached to the roof beams. These junction boxes needed conversion to distribute the wiring to new LED fixtures mounted in the ceiling. In retrospect, this was a great approach as we had a couple of years to consider what lighting changes we would make to improve visibility.

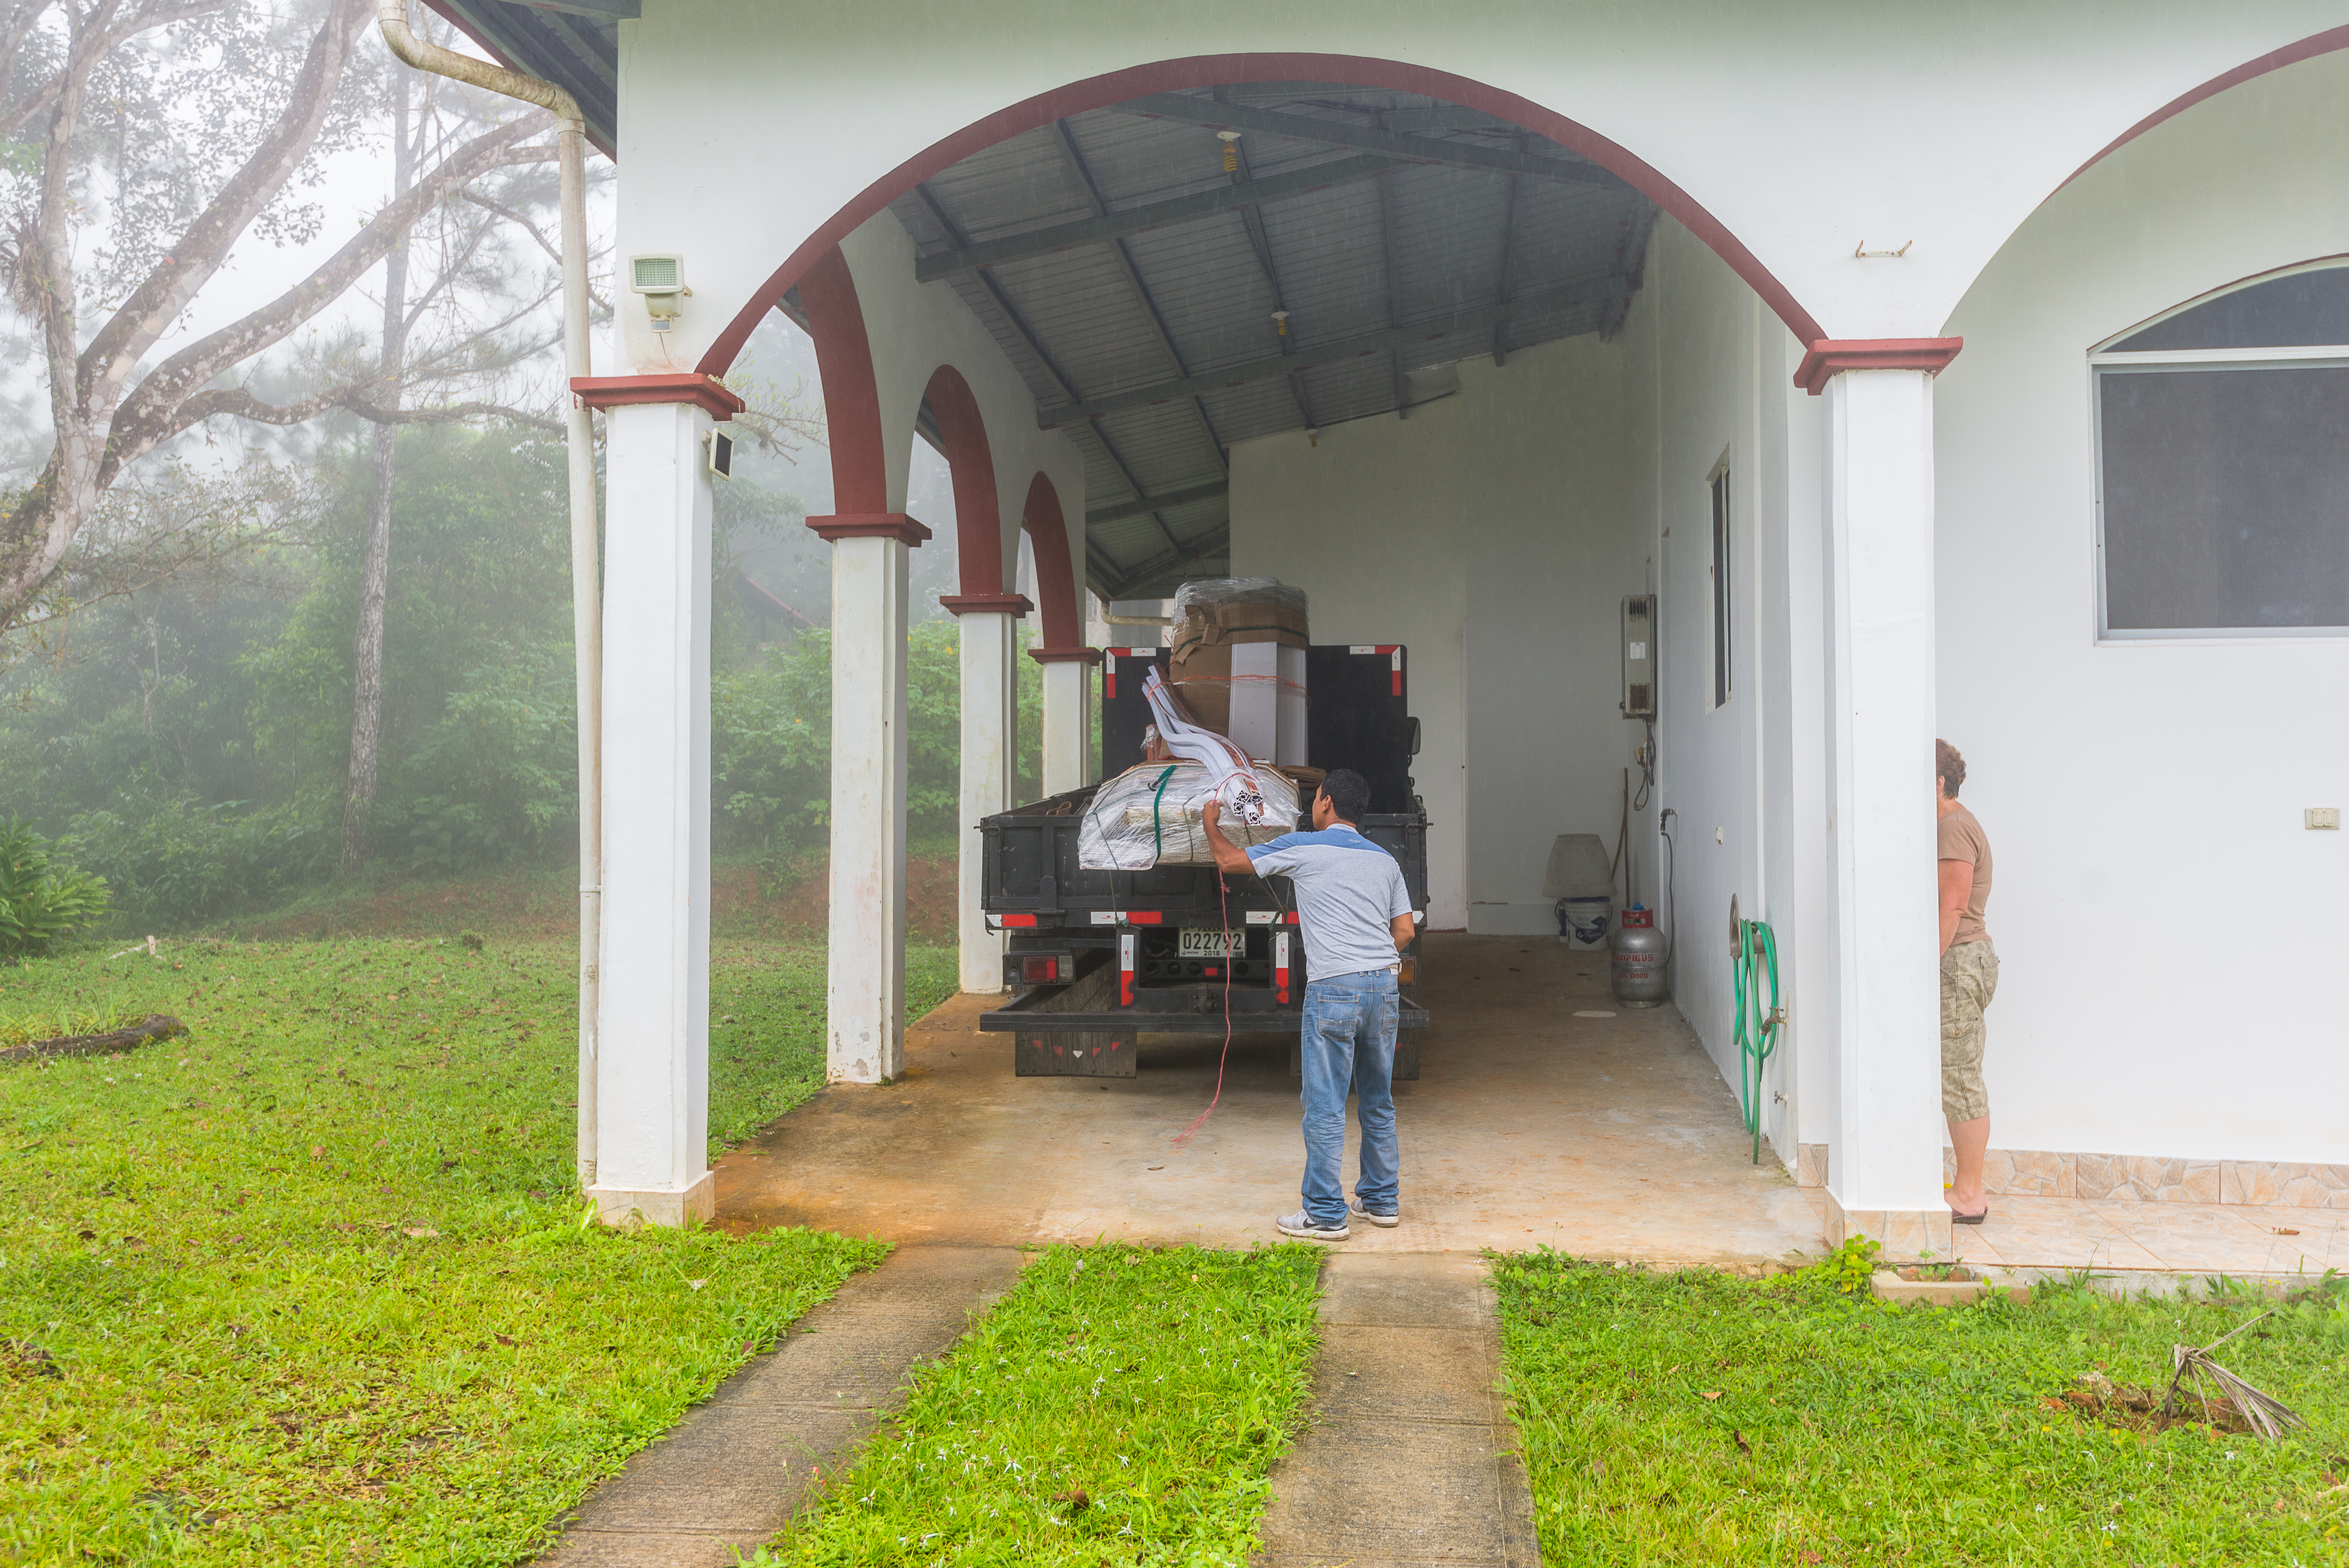
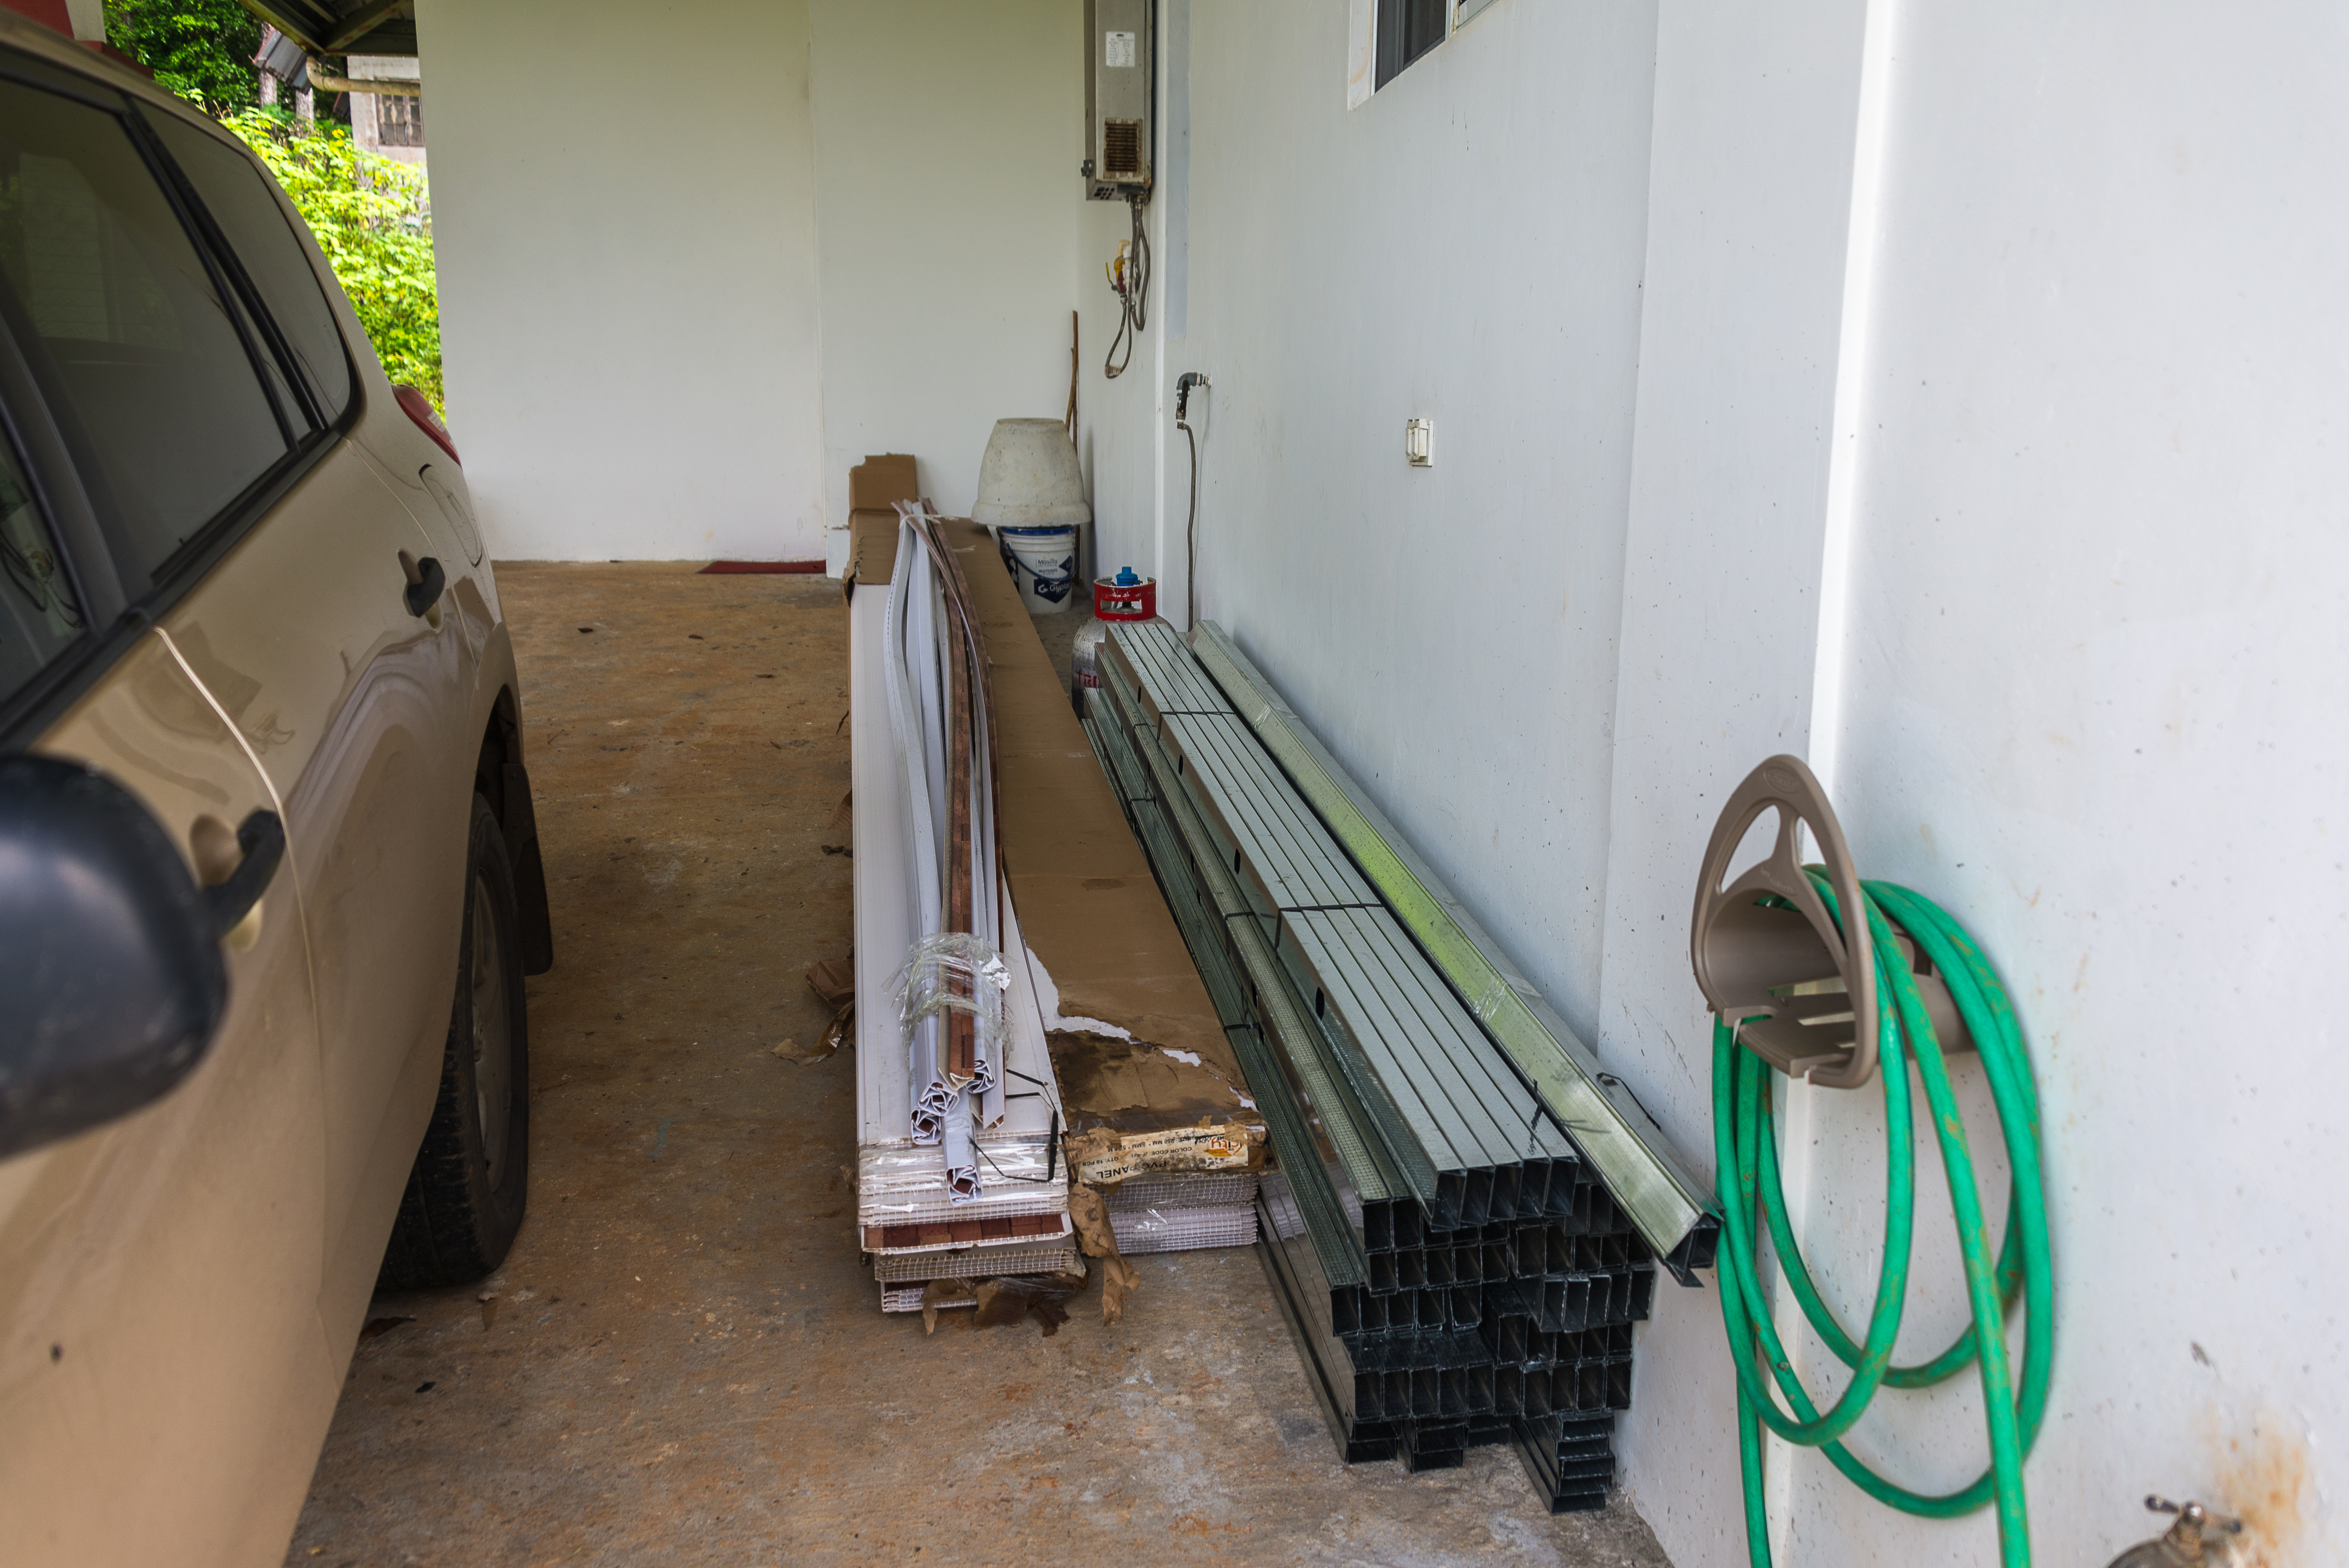
The start date was quick so we had to get our choice of PVC, track, and studs not only bought but hire a truck to pick it up and transported everything to our house up the mountain. We hired the same truck that brought the ceramic tile for our outside deck up last year.

The promise was that this whole job would take five days. The plan was for them to start at 7:30 in the morning and work as long as possible. Our experience up here suggests to us that this would be more a hopeful plan rather than an actual one.
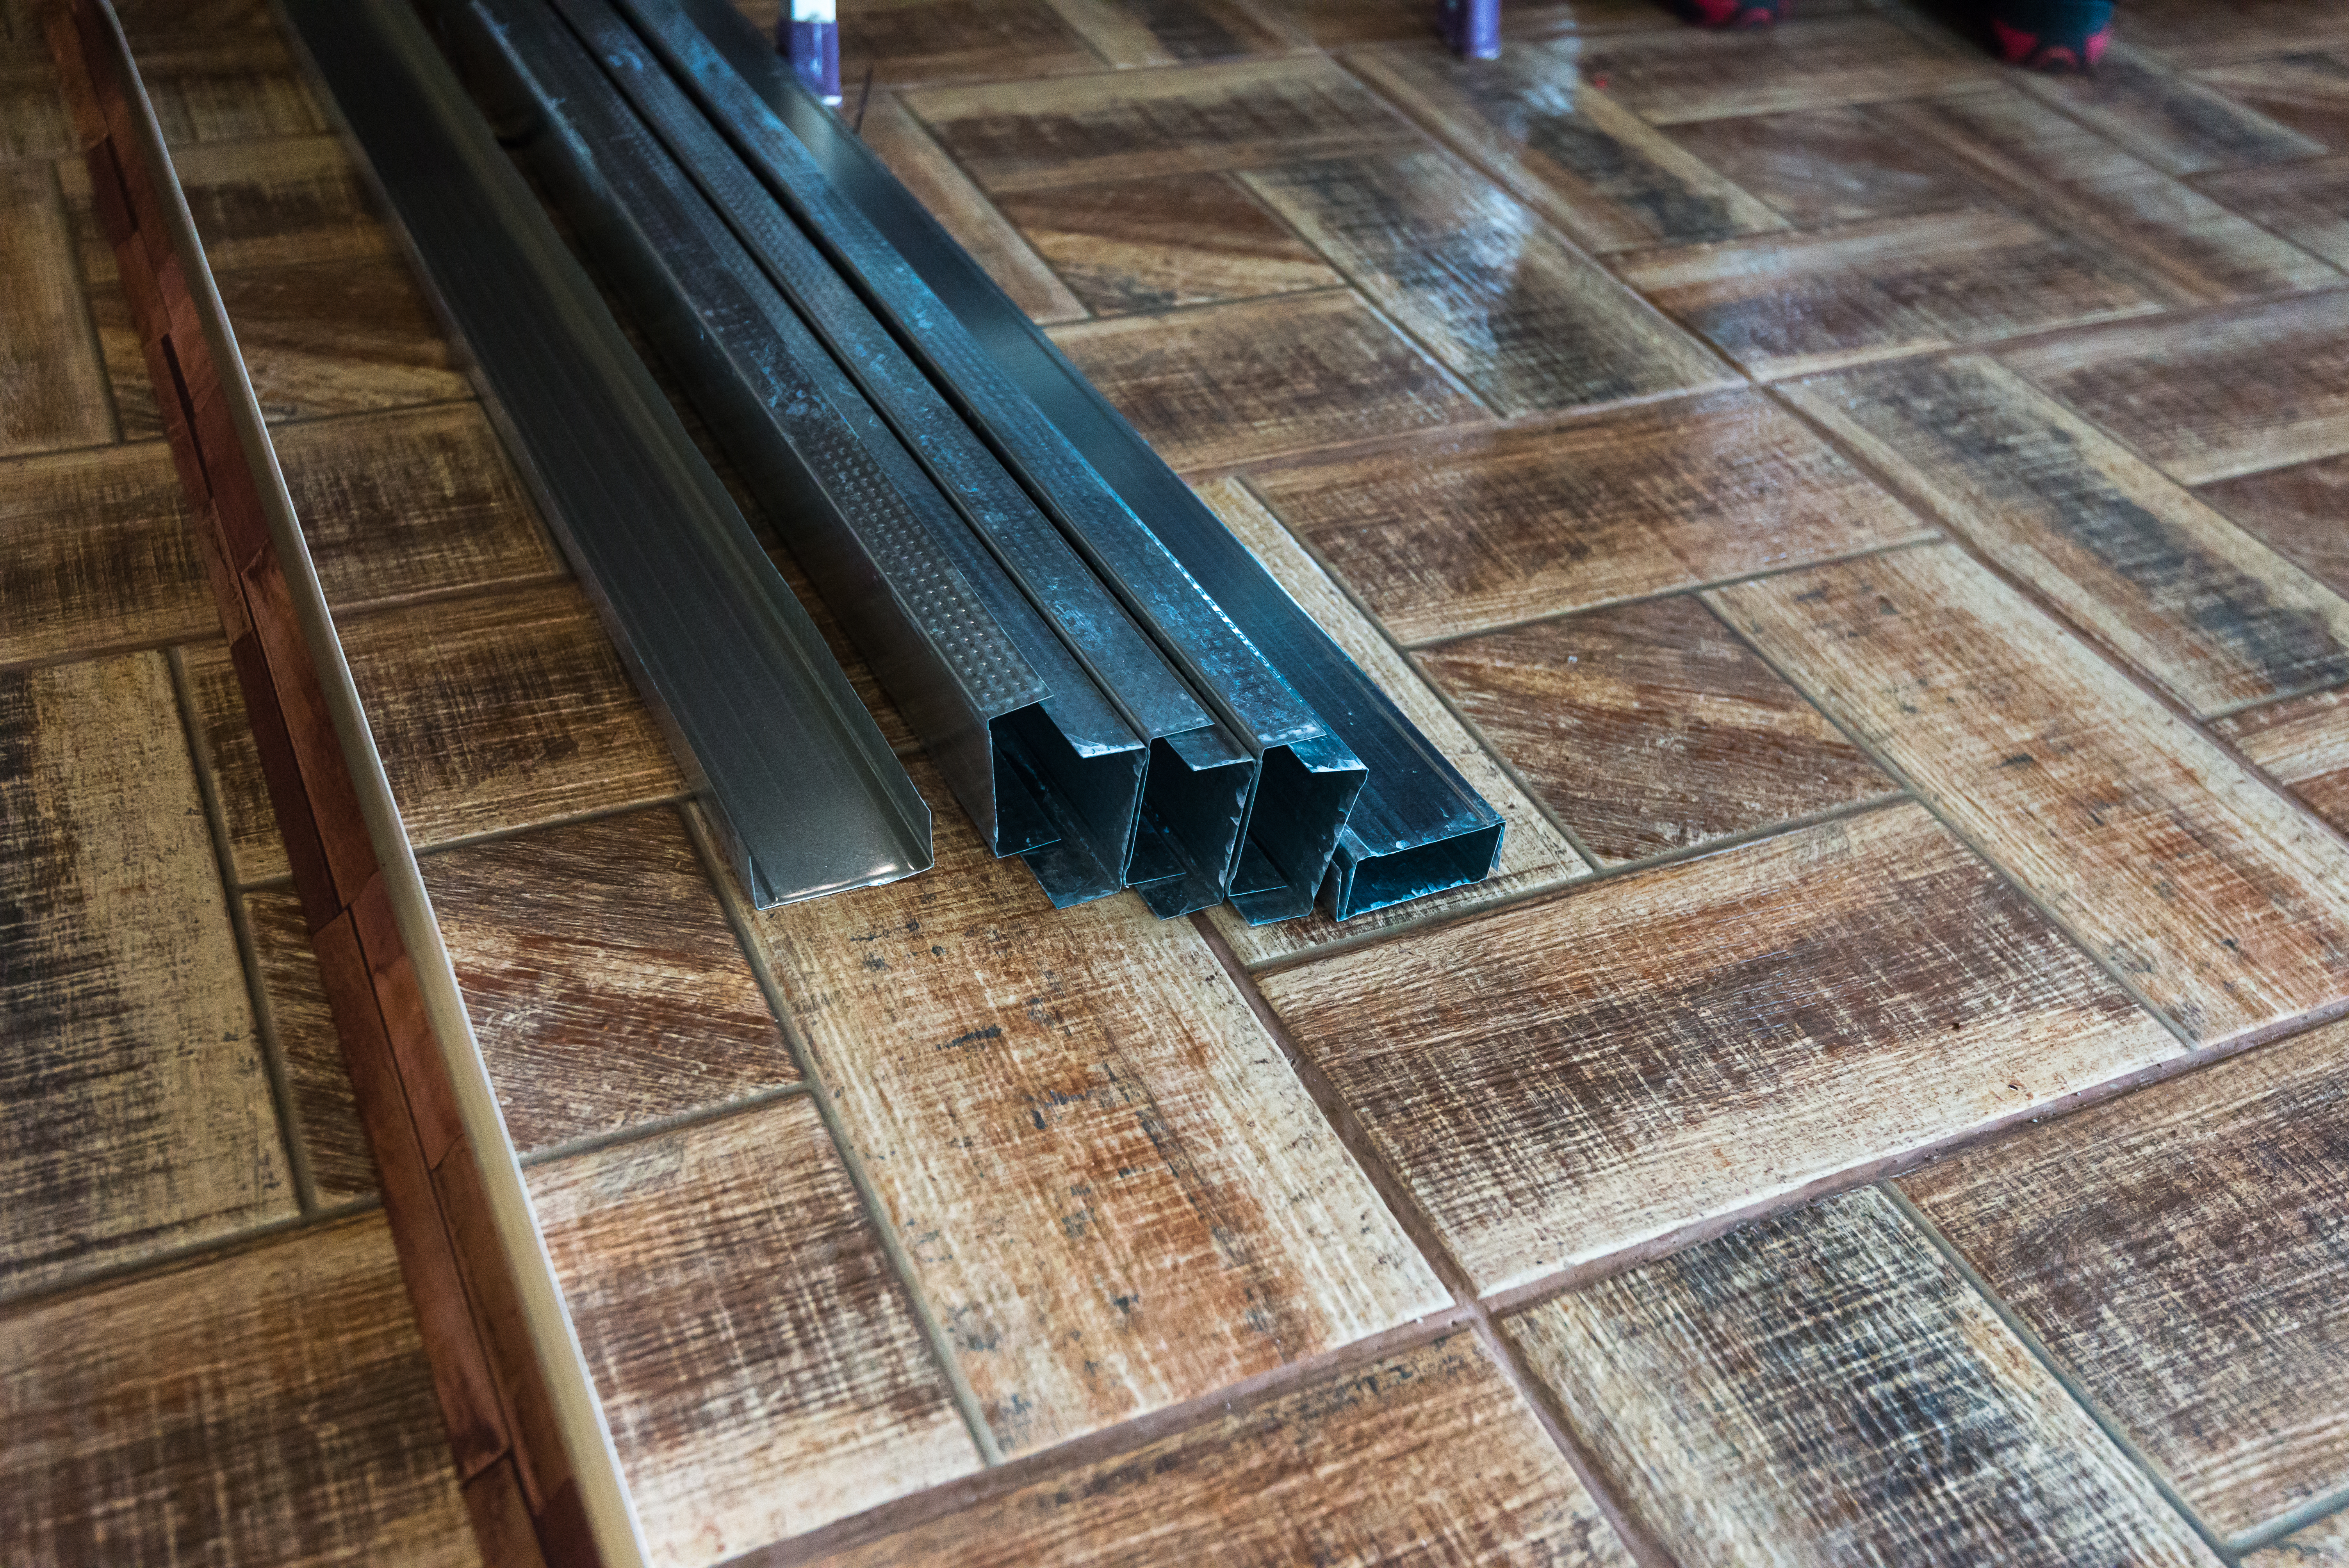
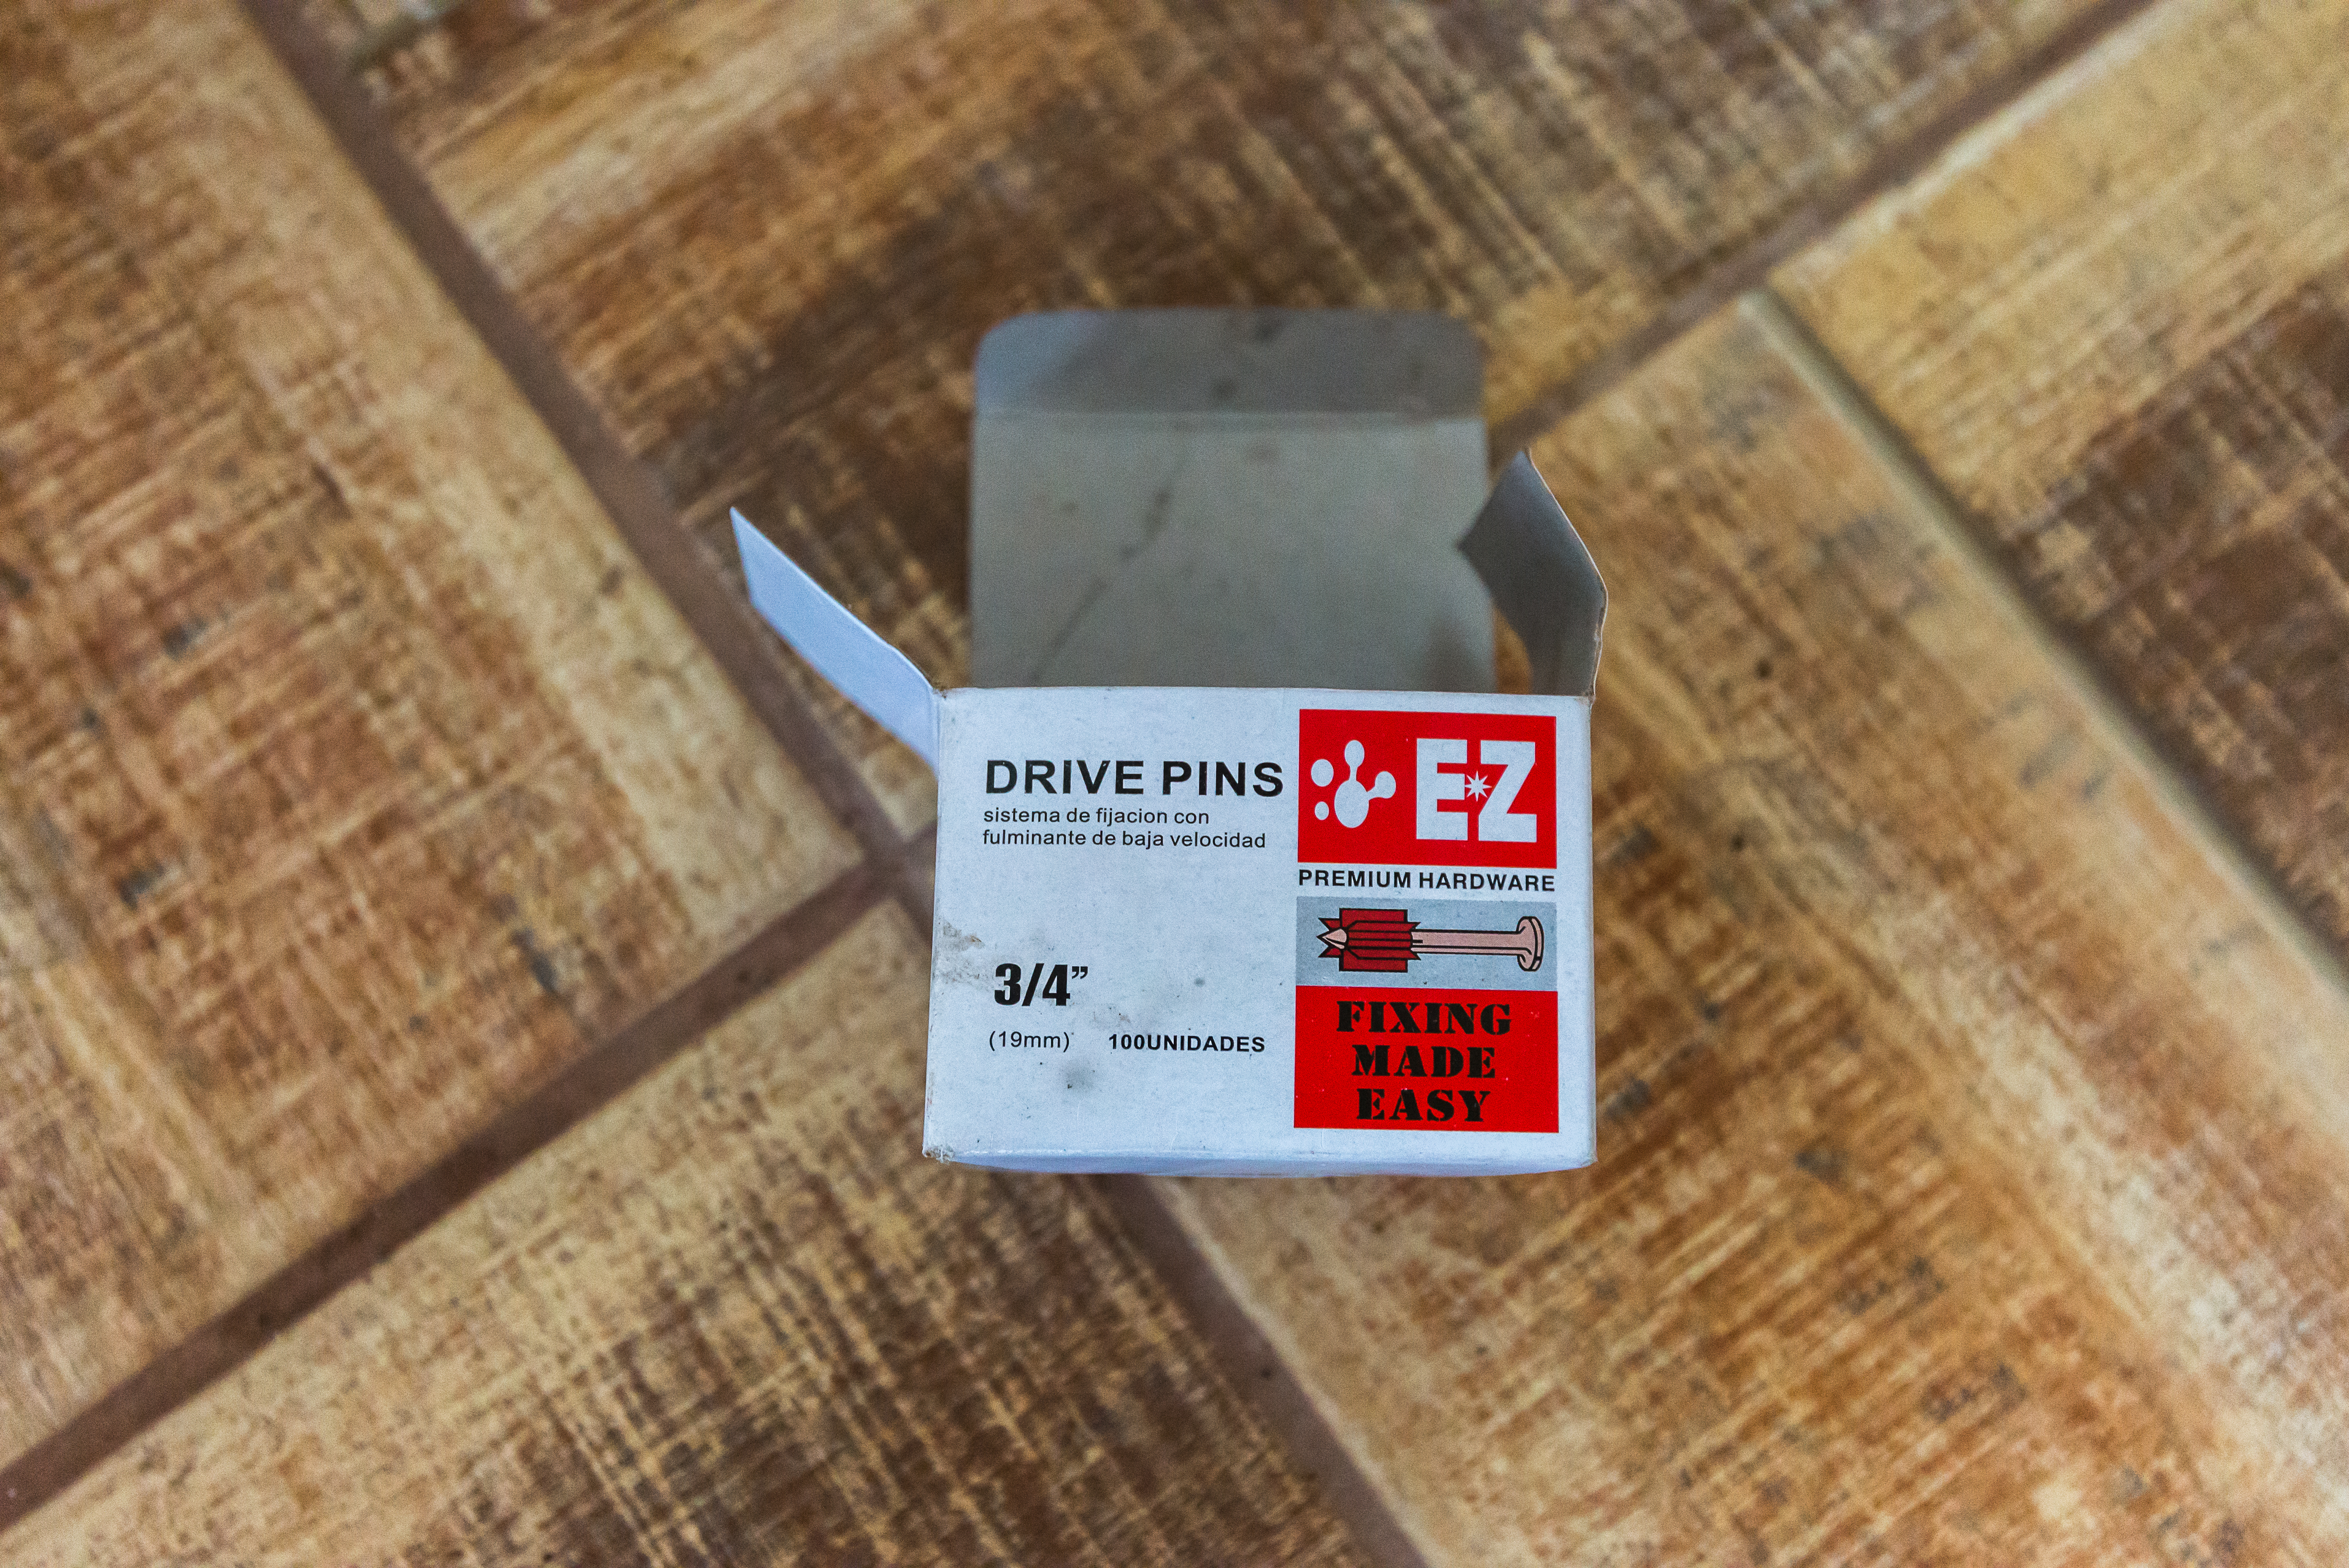
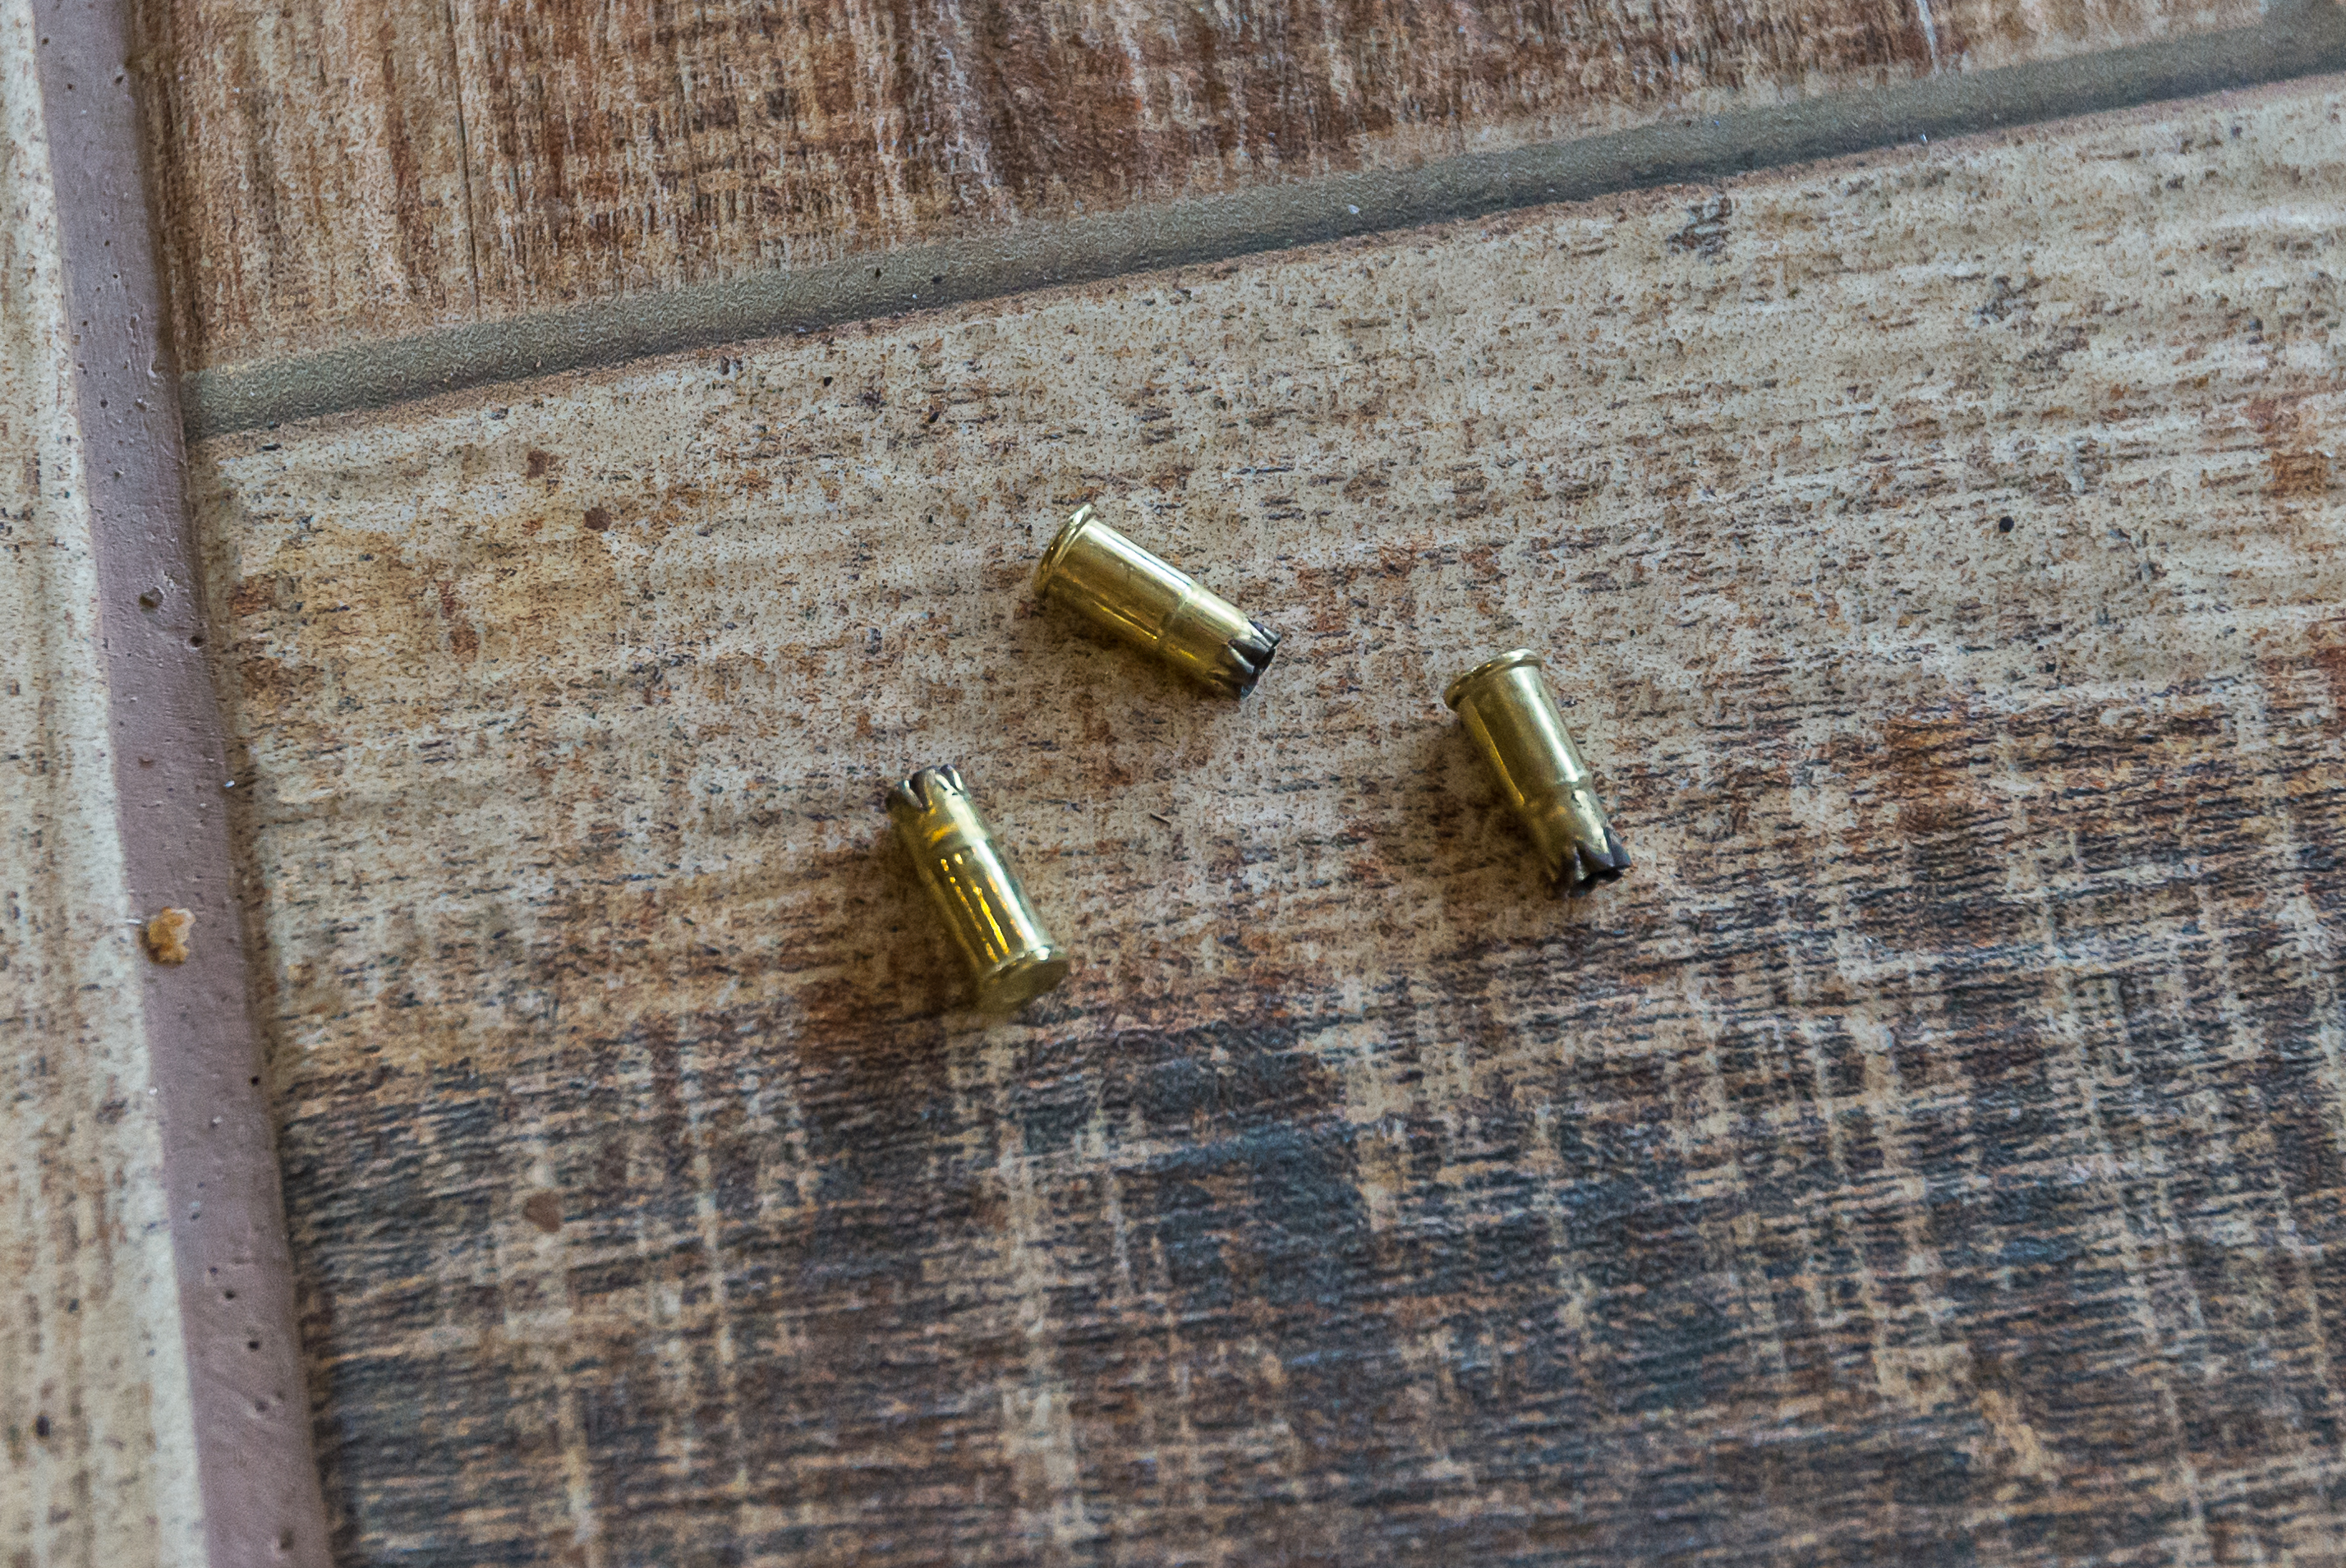
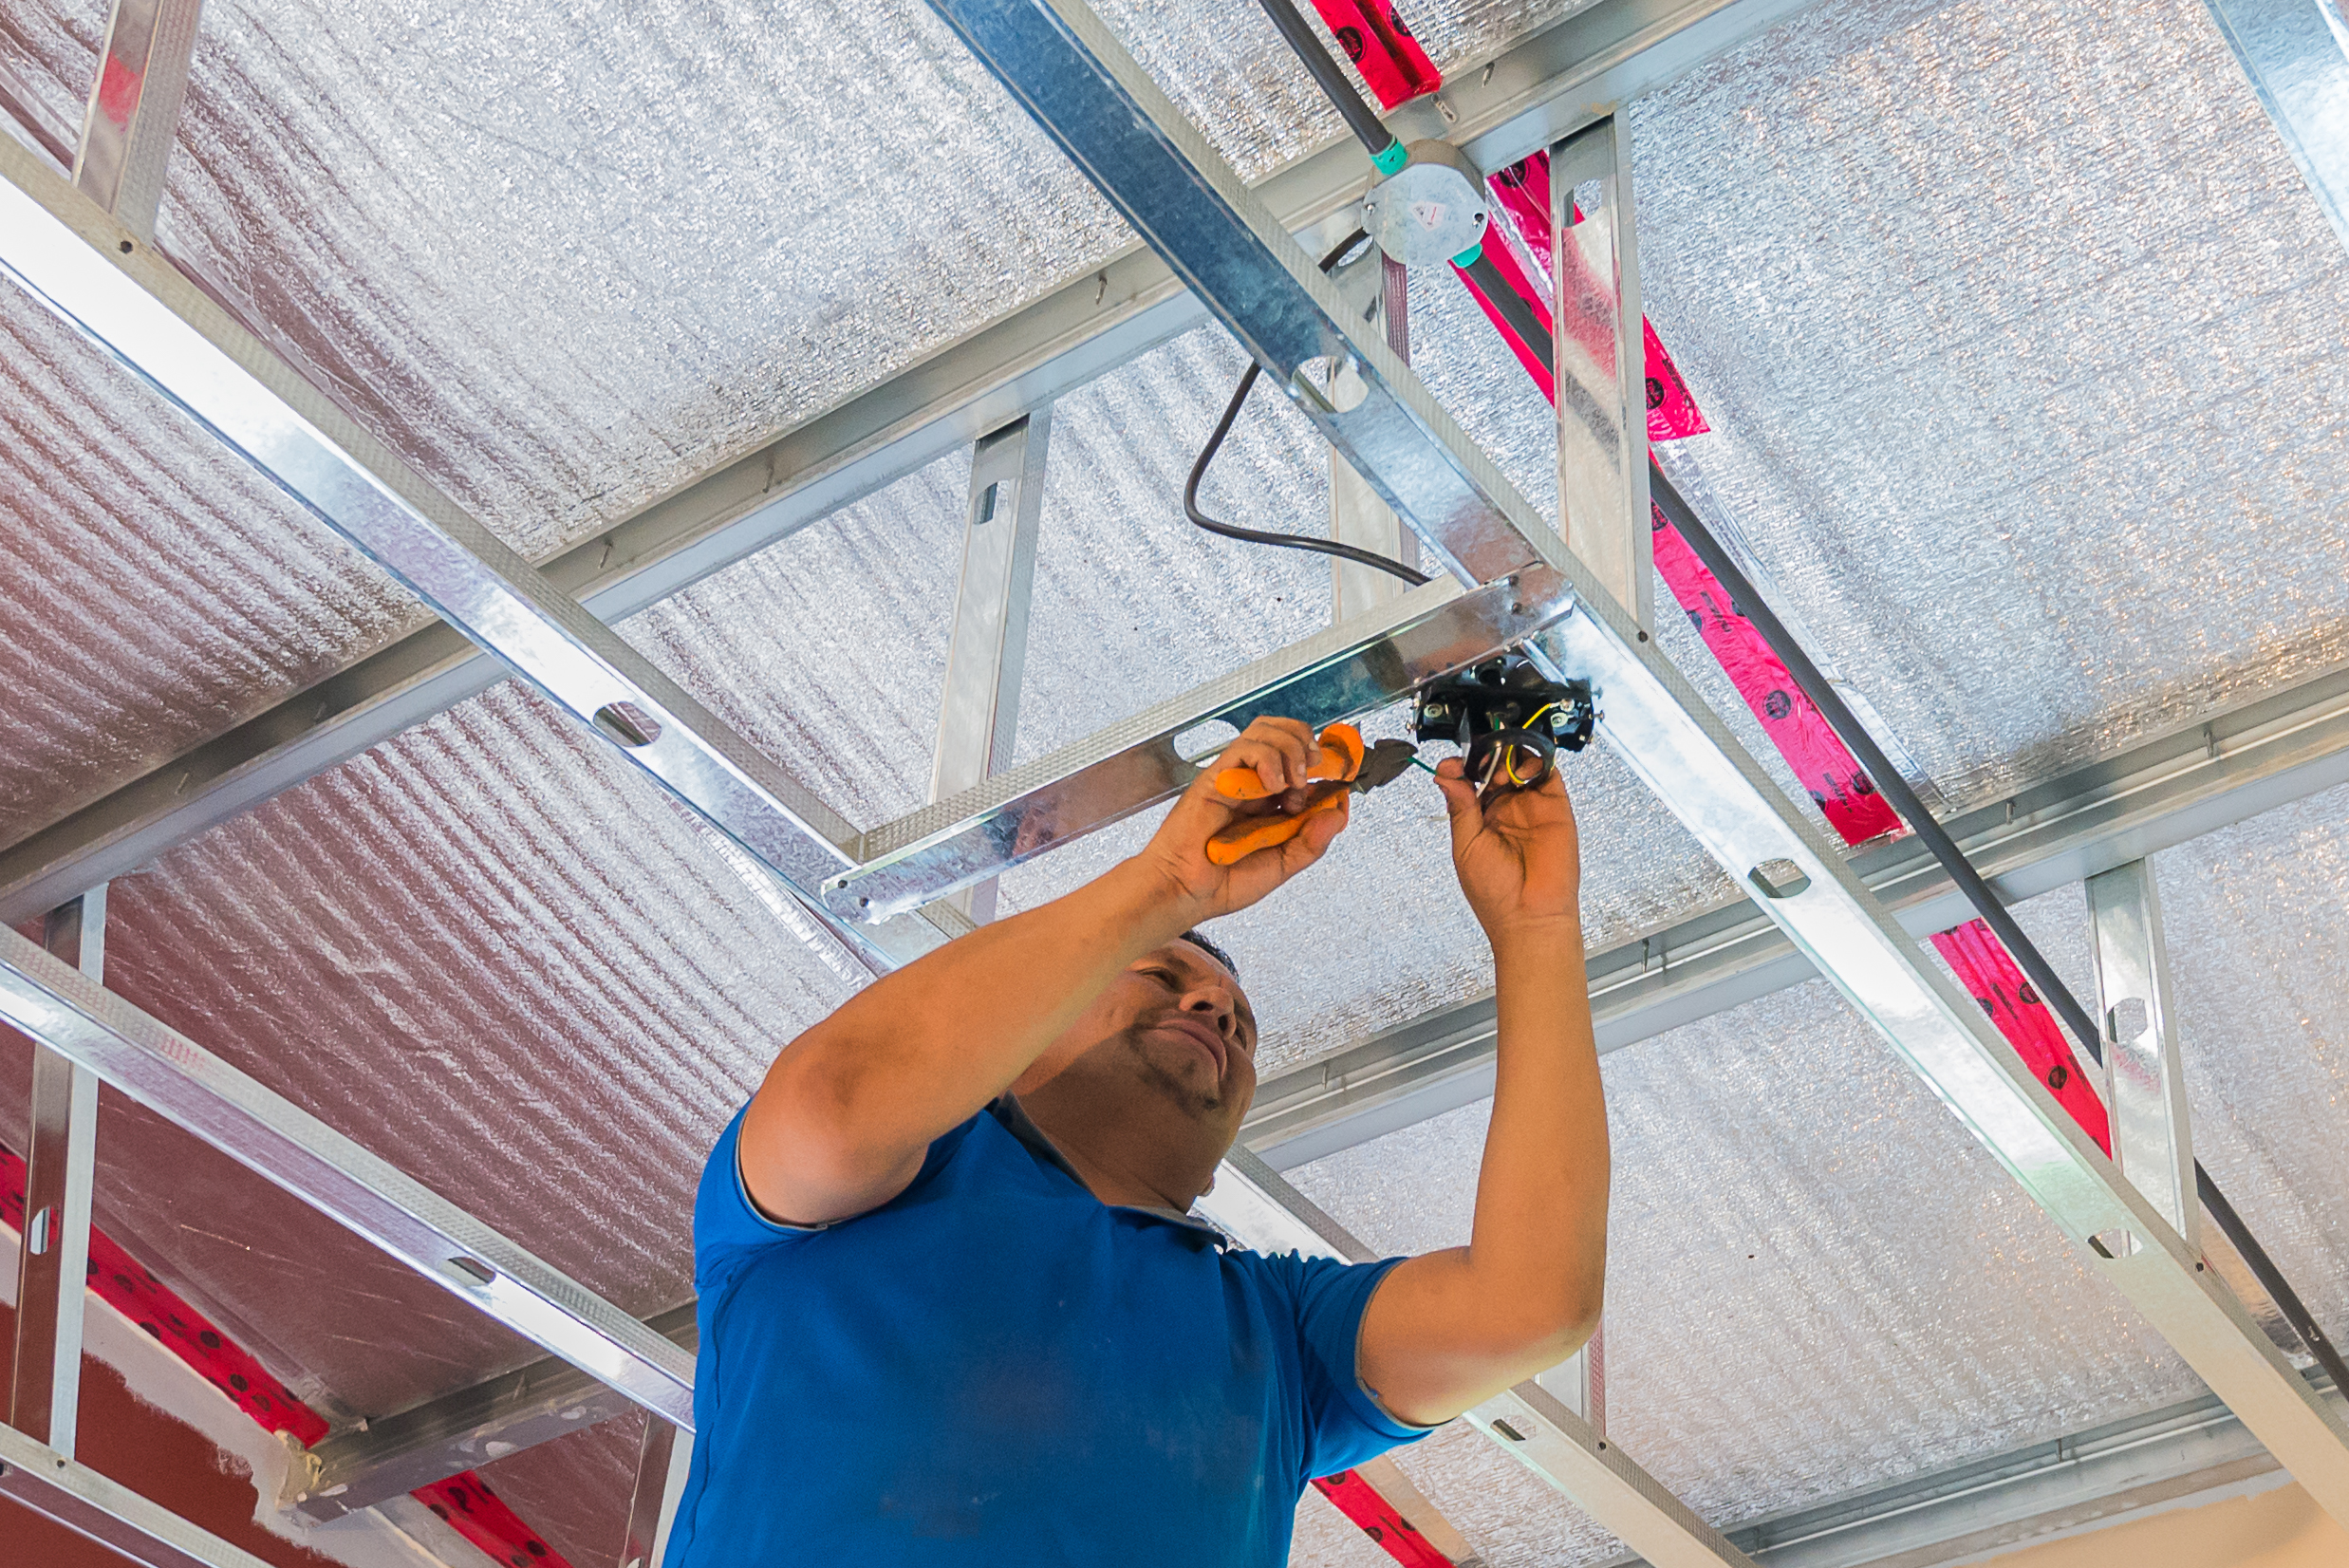
The process to install our ceiling involves installation of the studs first. The studs look like steel studs open on once side. They are light weight galvanized sheet metal. They put a level chalk line on the wall then shoot a nail through the studs into the concrete wall with a nail gun. LOUD… as they use .22 calibre blanks to drive the nails.


They circle the room with the studs then begin to install tracks. The work went well with two guys up the scaffolding installing and two guys on the ground bringing and sizing material. Tracks are similar to studs but have holes in back of the material to cut weight. Tracks run across the room then more tracks come from the roof structure down to the horizontal tracks across the room, supporting everything and making it level.
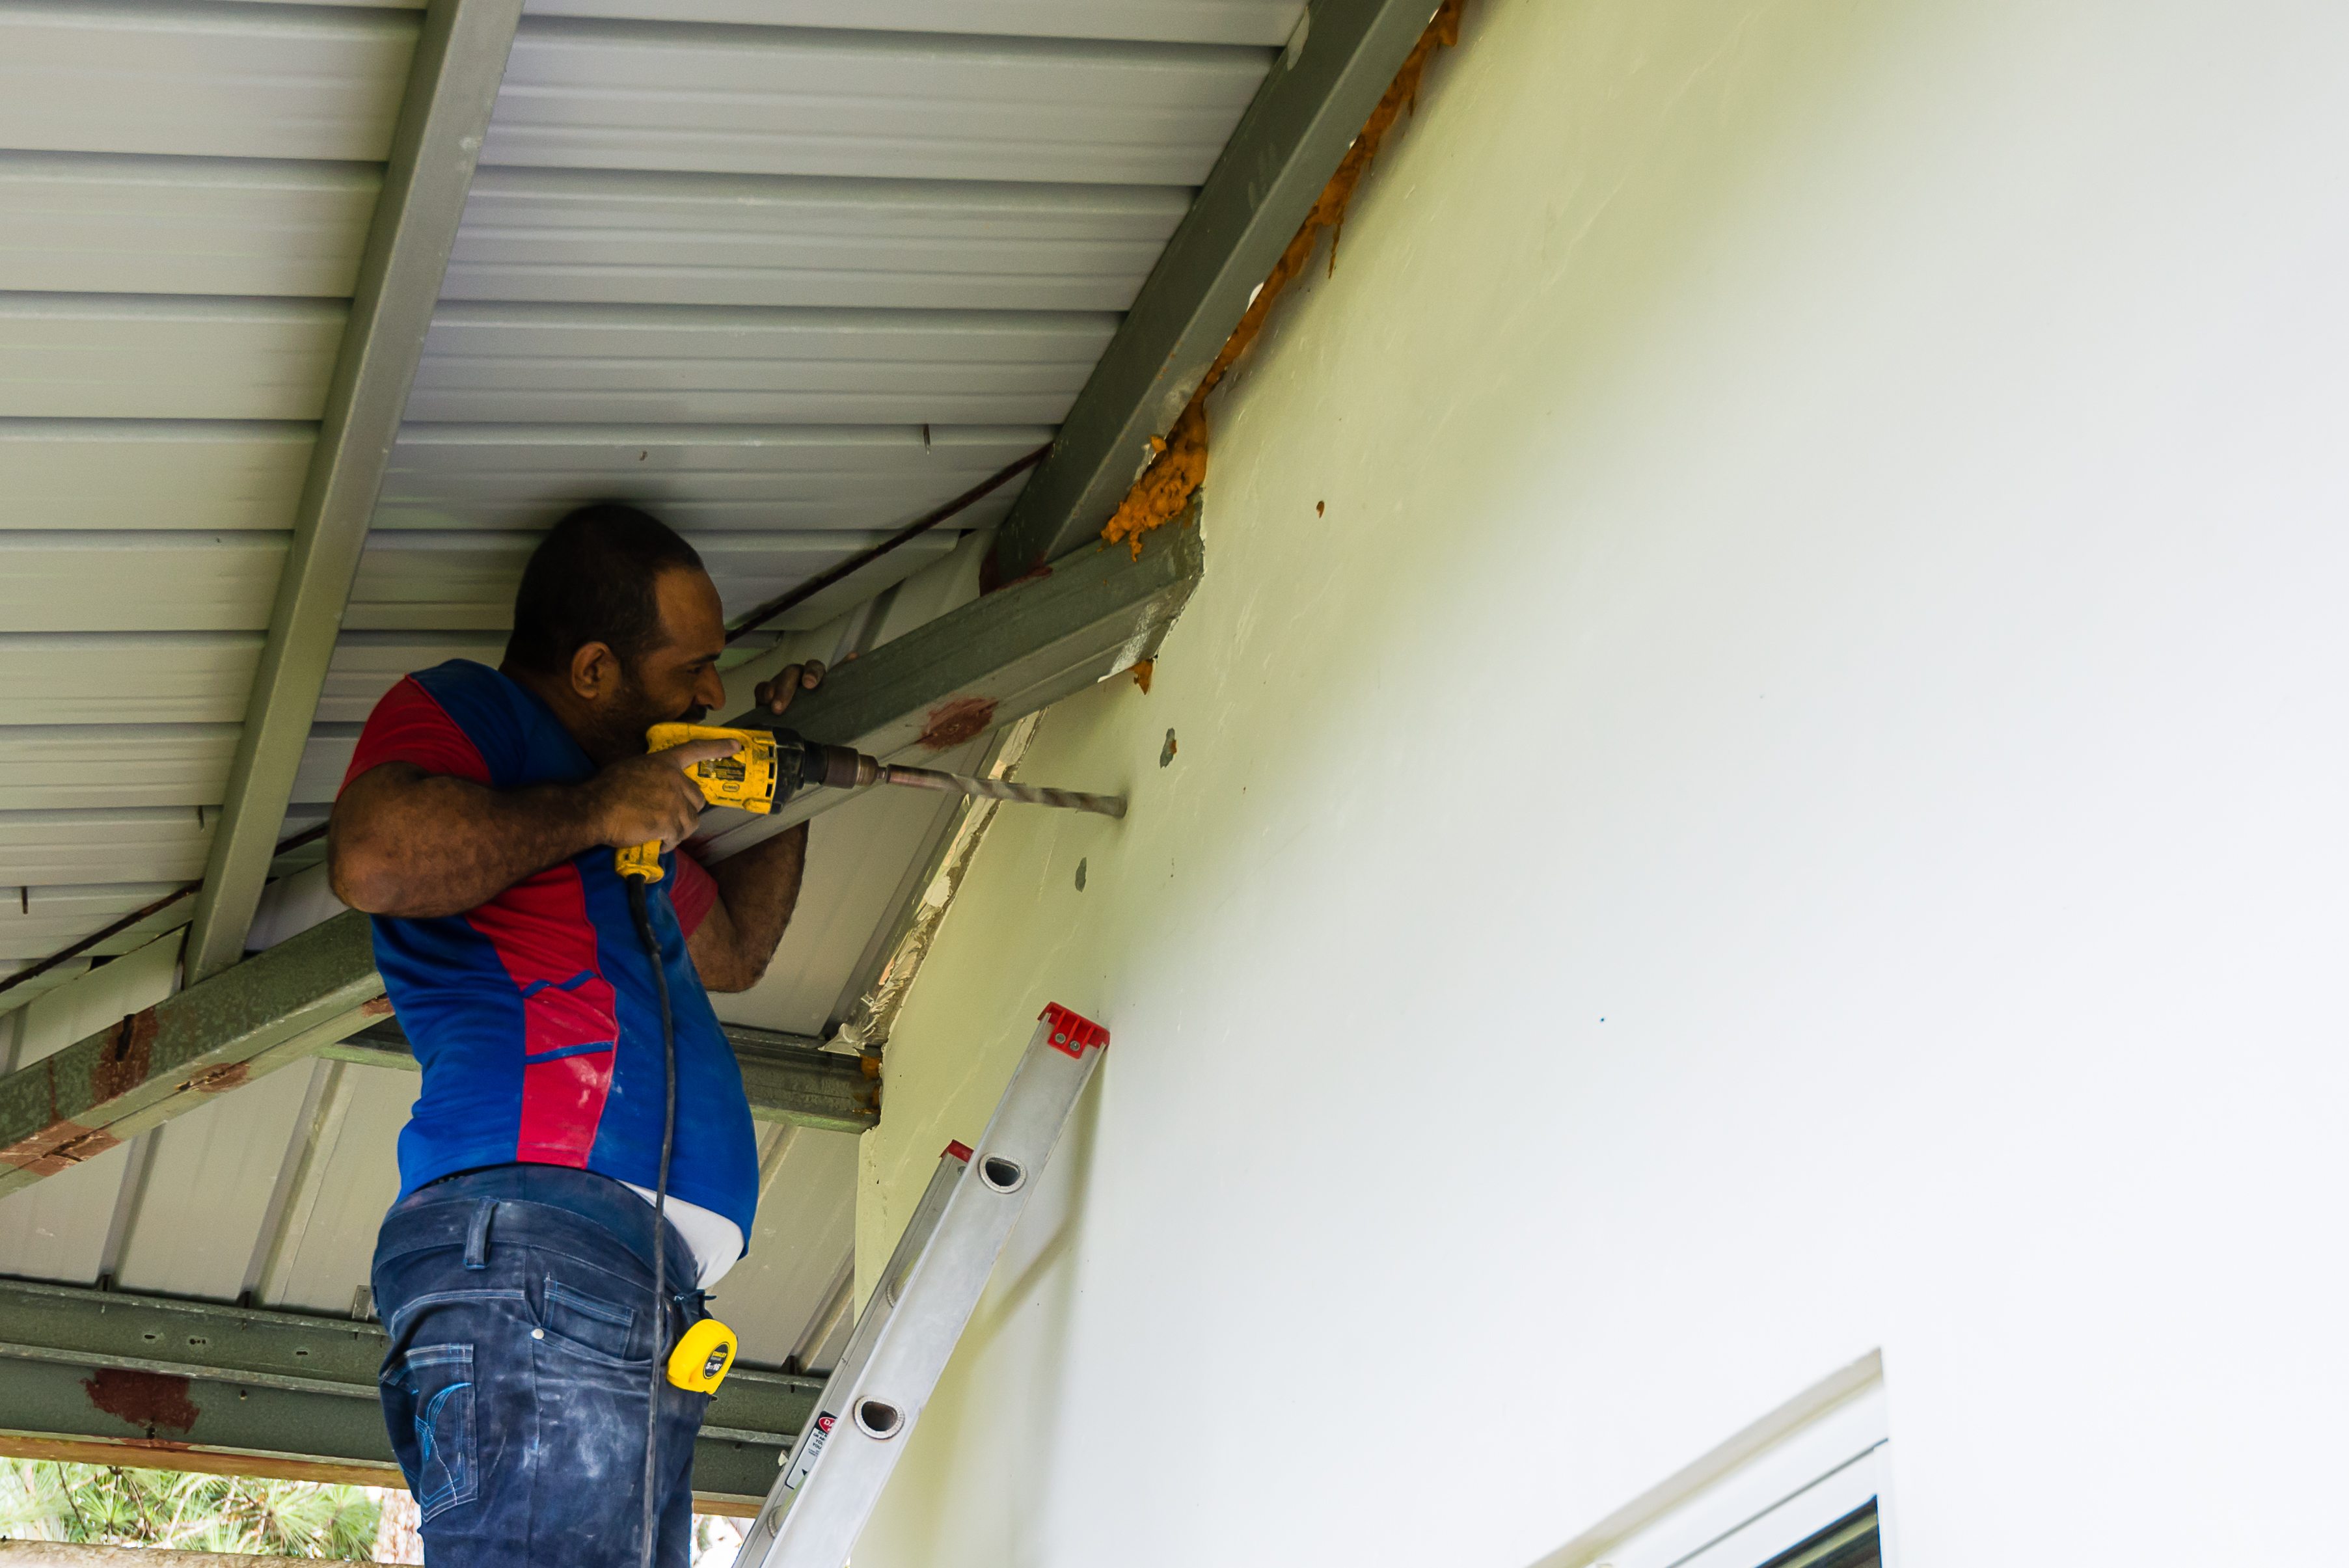

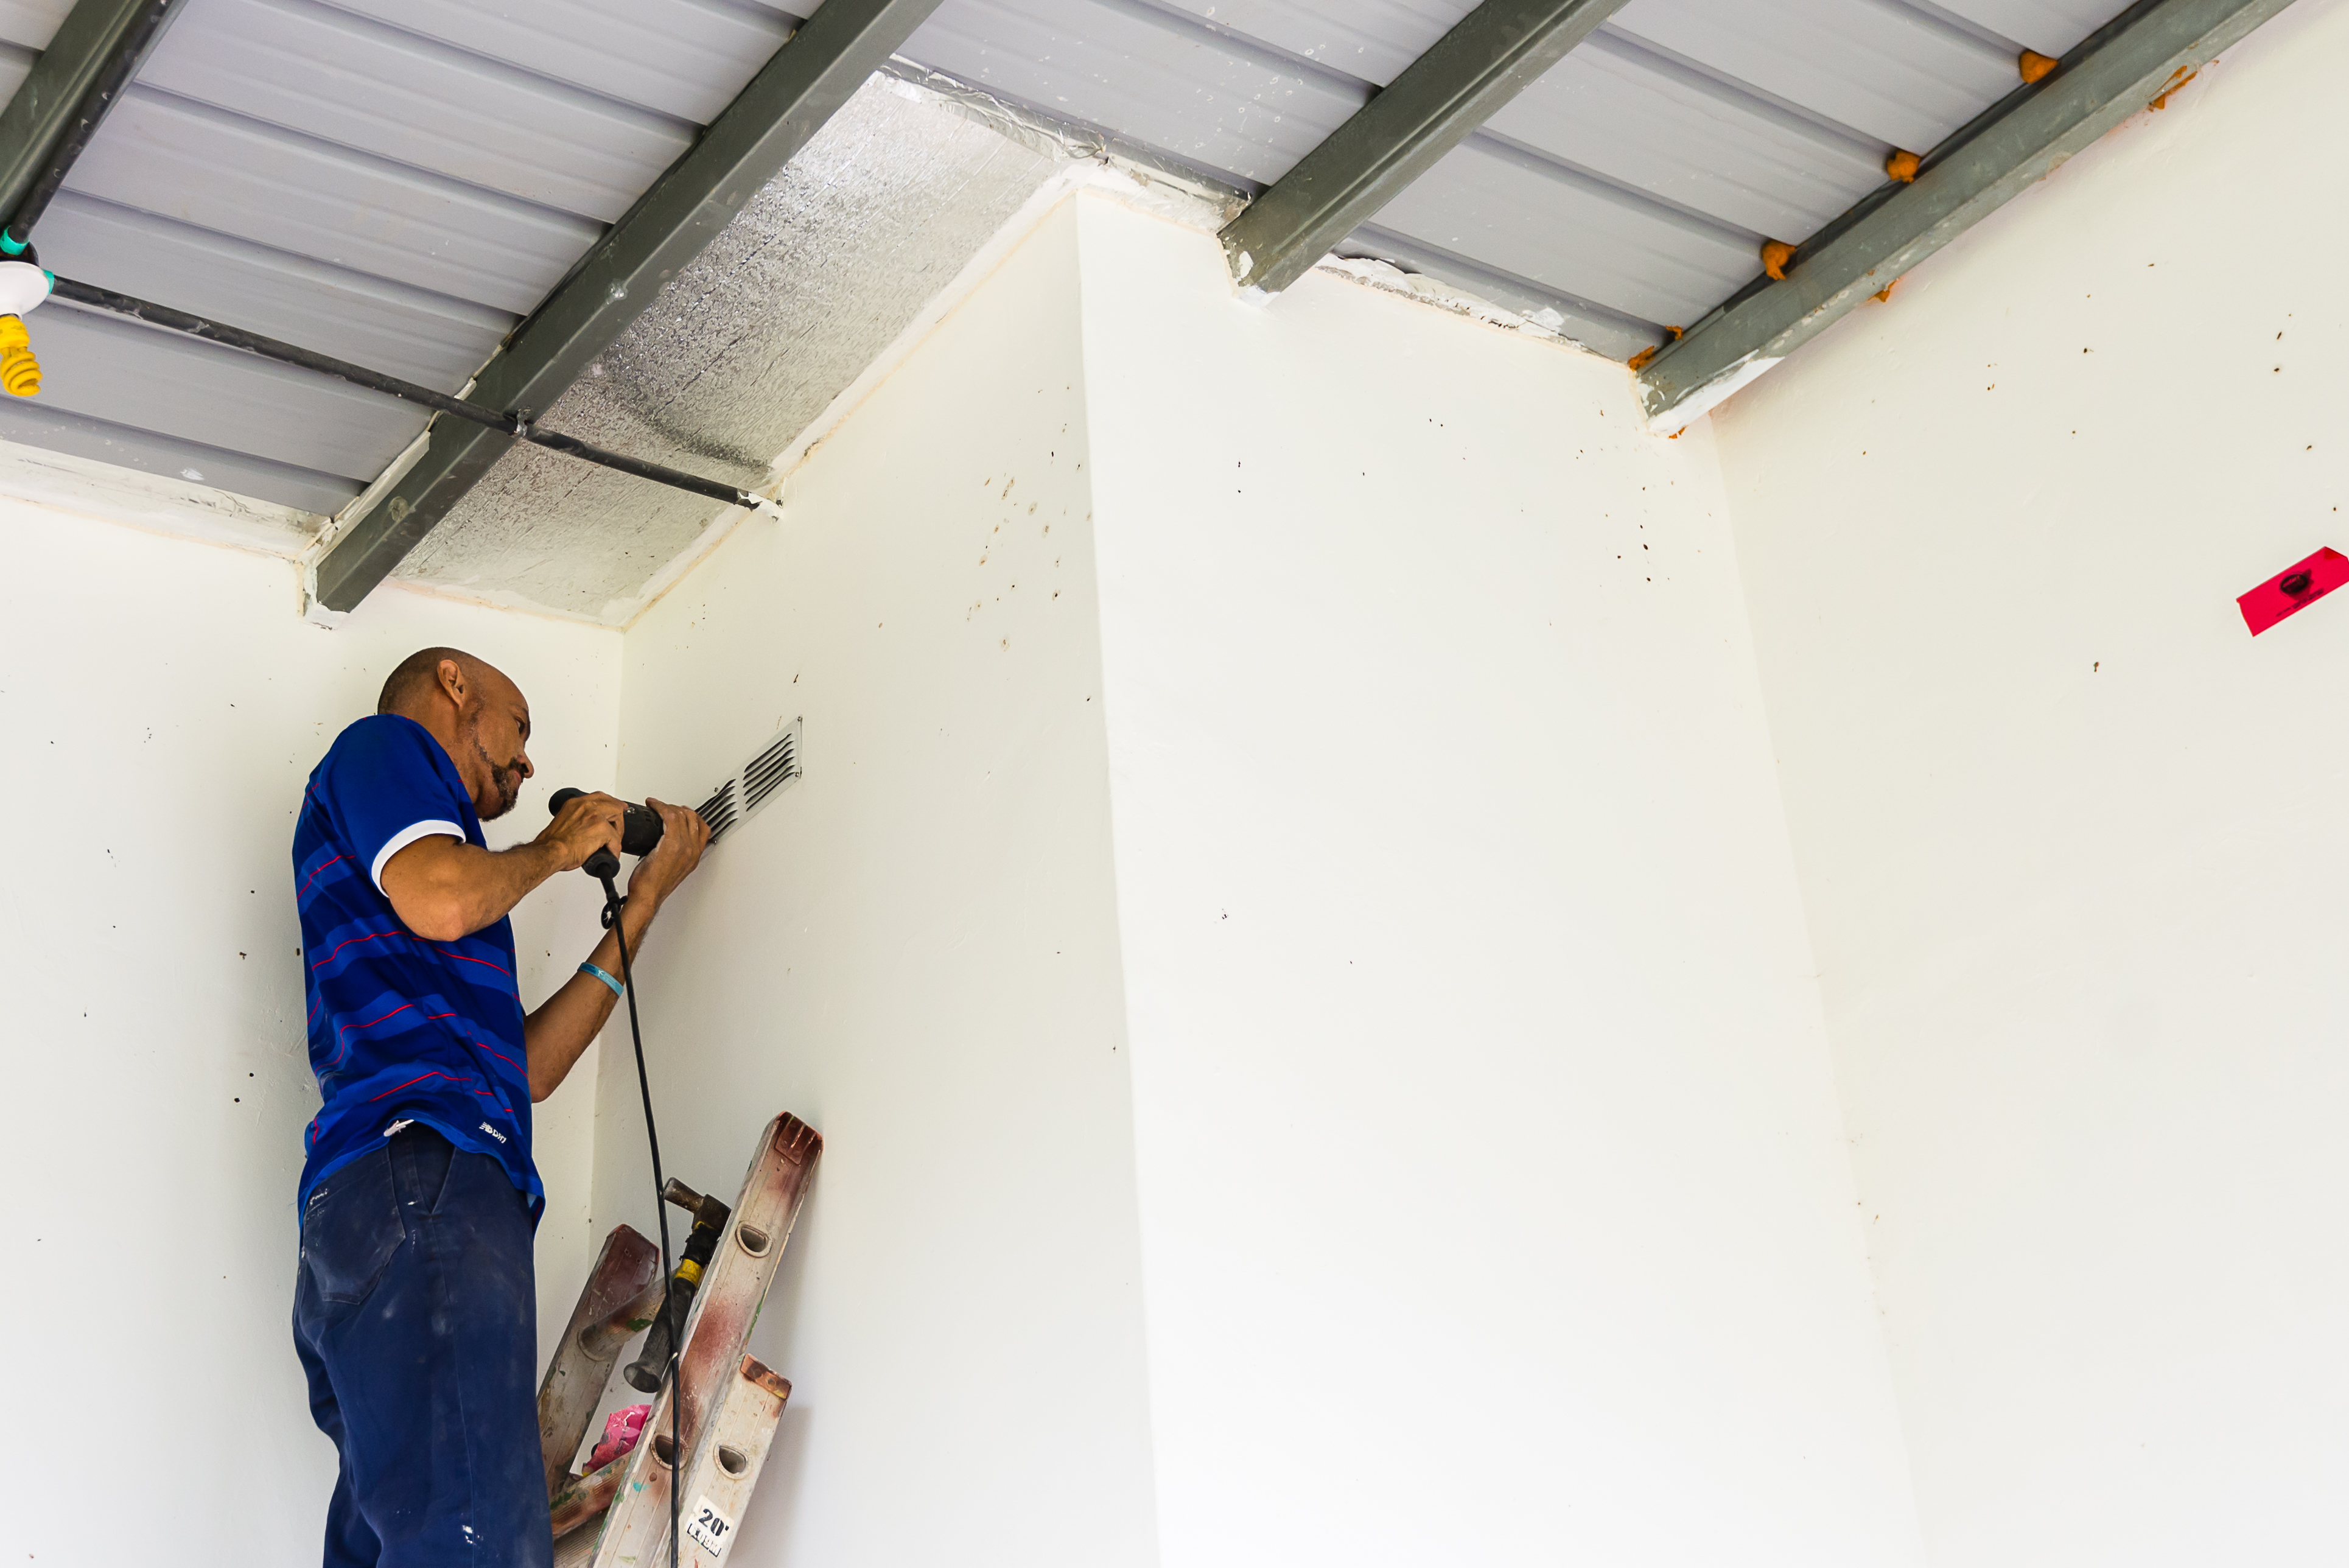
The dirtiest part of the job was the drilling of holes in the concrete wall between the new ceiling level and the existing roof. This is for ventilation. If you don’t do this the air between the ceiling and the roof is trapped and the humidity will have no way to escape. This will result in condensation, mould, and odor, none of which we want.


After the room has studs and tracks completed, the next step is to screw the edging pieces to the bottom of the studs using self-tapping sheet metal screws. Once the room is complete, the actual ceiling is installed. The guys on the scaffolding measured the needed length and the guys on the floor cut the piece to the correct length. Our ceiling material comes in about nineteen and a half-foot lengths. The two ground guys deliver the cut piece to the scaffolding team, who insert the ends into the edging piece and slide it up to the previously installed piece. Two ceiling pieces snap together on one side, similar to laminate flooring. The open side is screwed to the track, using self-tapping sheet metal screws. Every piece is secured this way except the last piece which is the most difficult to install. It snaps into the earlier piece but is left loose in the corner moulding on the side normally screwed. Done right, you cannot see any difference.

All in all, we found the job quality and hours worked above expectation. Some evenings they would work until six or seven at night, after starting at around at around 7:30 in the morning. They brought lunches with them but barely stopped for fifteen minutes to eat. No breaks! The last night they were here until nine. They completed in five days, as promised!


7 Responses to “The Ceiling Project”
Hi Keith,
Must be very nice without freezing temperature, bless you both.
Merry Christmas and Happy new year,
Syed W Bukhari CTC
Moon Travel & Tours Ltd.
#3 3360 27 Street NE
Calgary AB
Canada T1Y 5E2
Tel:1-403-234-0043
Toll Free: 1877-474-3434
Fax:1-403-234-0056
E-mail:sbukhari@moontravelandtours.ca
Business Hours: 10:00AM to 6:00PM
Visit us: http://www.moontravelandtours.ca
Thank you and the same for you.
So glad you were able to get this done.,it looks wonderful. Enjoy reading your posts. Hope you have a wonderful Christmas. Cheers from the two of us.
you much be the talk of the town with all the research and having contractors that keep their promise of when it will be completed. You’ll have to start on another project – what’s next. Congratulations on a beautiful home away from home. Hope all is well and life is as good as it looks for you two. Take care and stay healthy. Janine 🙂
Thank you. It has been along time getting to this point. The only big project left is the outside ceilings. Maybe next year??
HAPPY NEW YEAR!!!!! Should have read my comment before I hit send 🙂
And to you as well.